书接上回(实现第一个目标检测网络模型)
#前景提要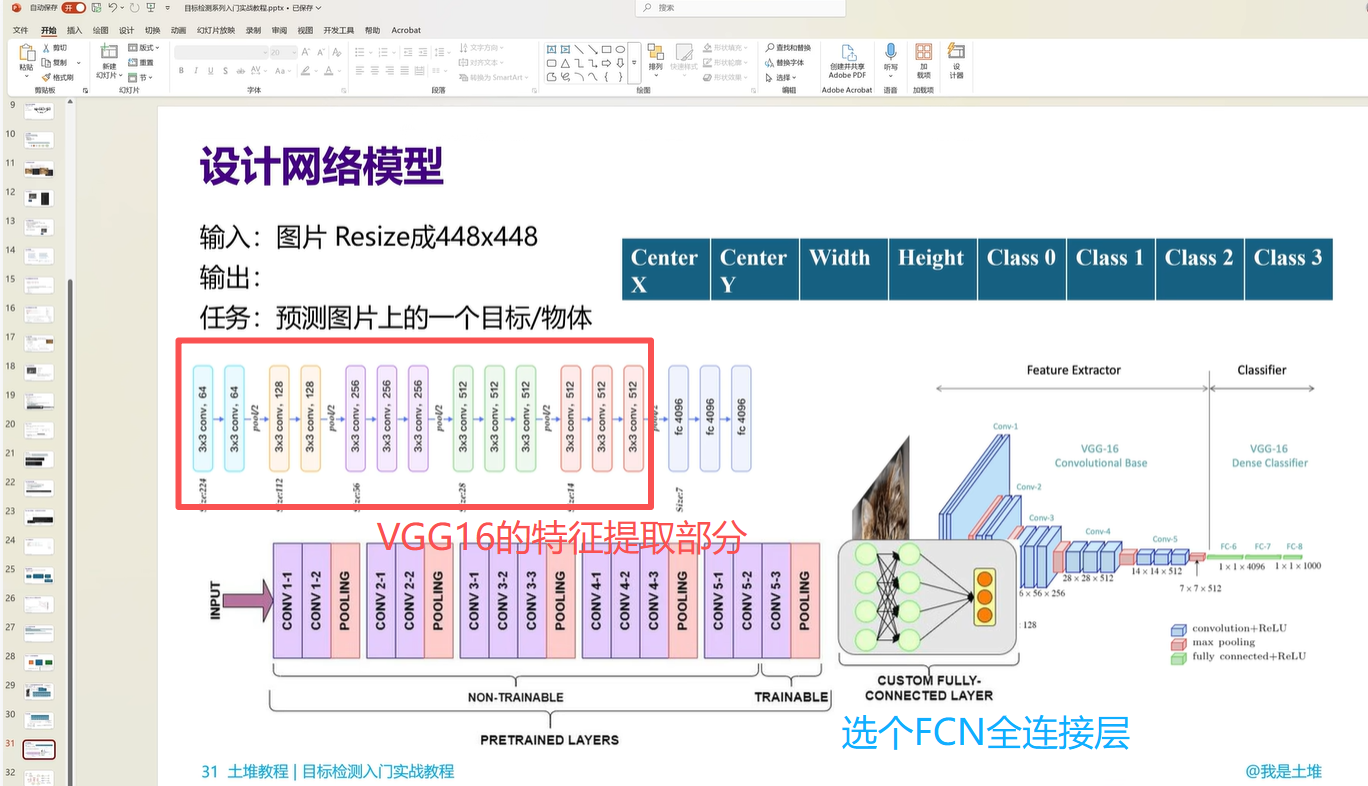
一、代码
1.首先去Models and pre-trained weights — Torchvision 0.28 documentation 这个torchvision.models官网搜素VGG
1.VGG16参数
2.torchvision.models.vgg16(*, weights: Optional[VGG16_Weights] = None, progress: bool = True, **kwargs: Any)
其中weights (VGG16_Weights, optional) 这个预训练权重能够加快我们训练自己模型的速度
2.回顾module
Module — PyTorch 2.13 documentation
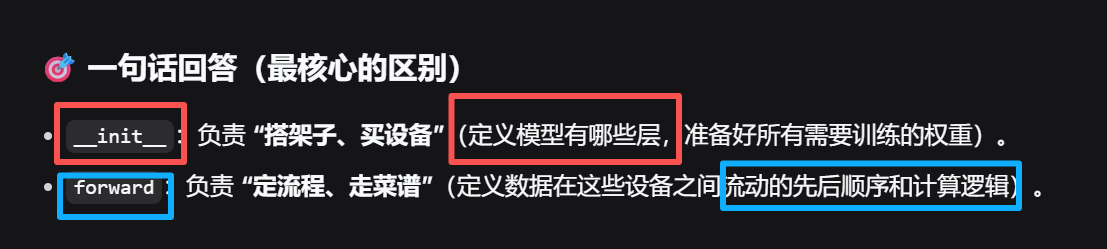
初始化方法就是定义模型有哪些层,但是forward就是告诉你图像是按照什么顺序流动的

import torch.nn as nn
import torch.nn.functional as F


class Model(nn.Module):
    def __init__(self) -> None:
        super().__init__()
        self.conv1 = nn.Conv2d(1, 20, 5)
        self.conv2 = nn.Conv2d(20, 20, 5)

    def forward(self, x):
        x = F.relu(self.conv1(x))
        return F.relu(self.conv2(x))
3.开始写我的VGG16
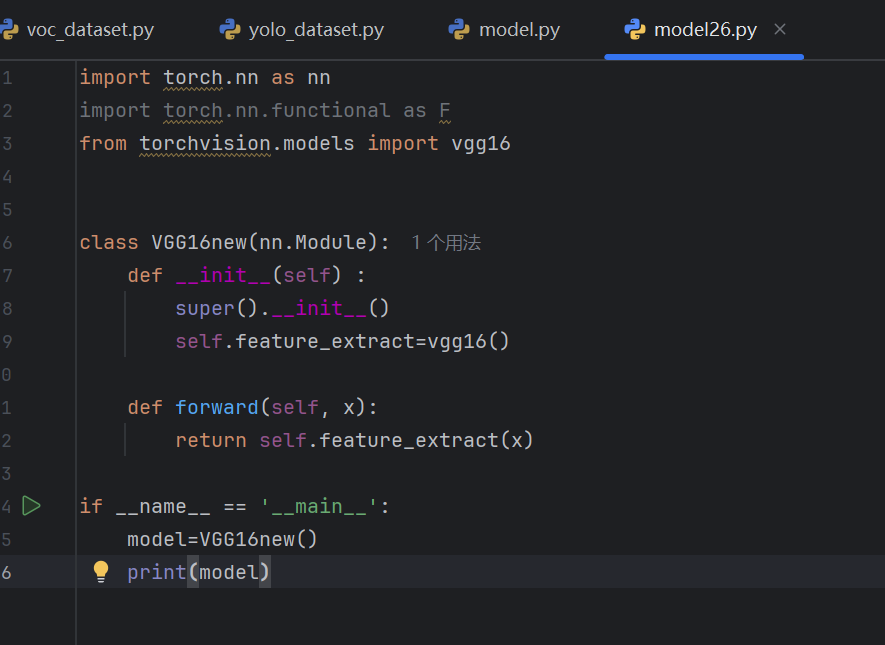
运行结果发现VGG16包含了三部分
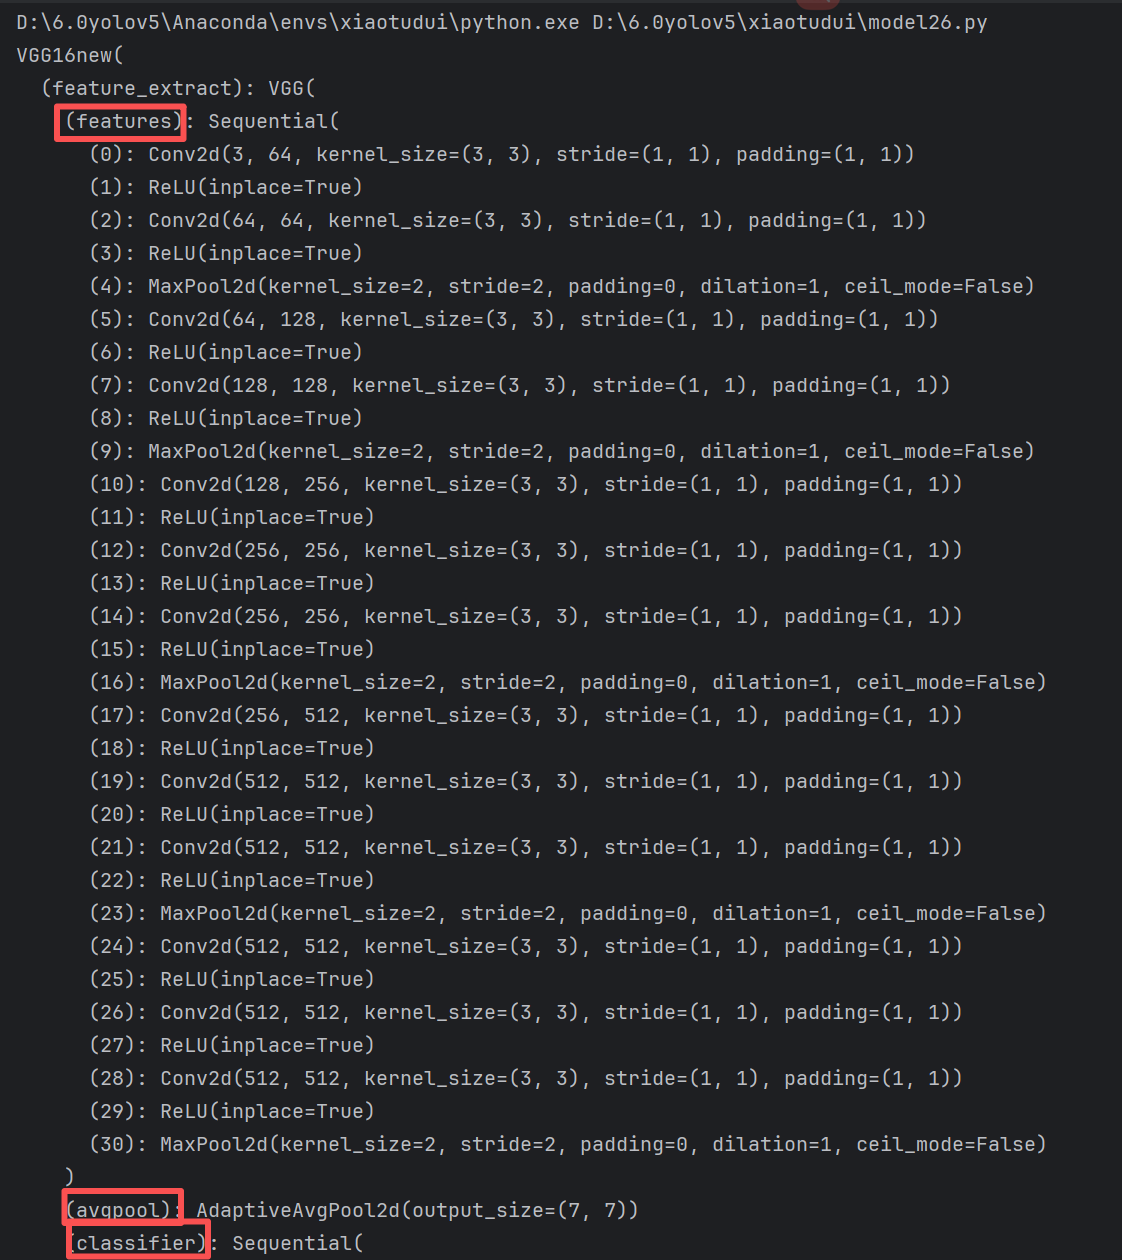
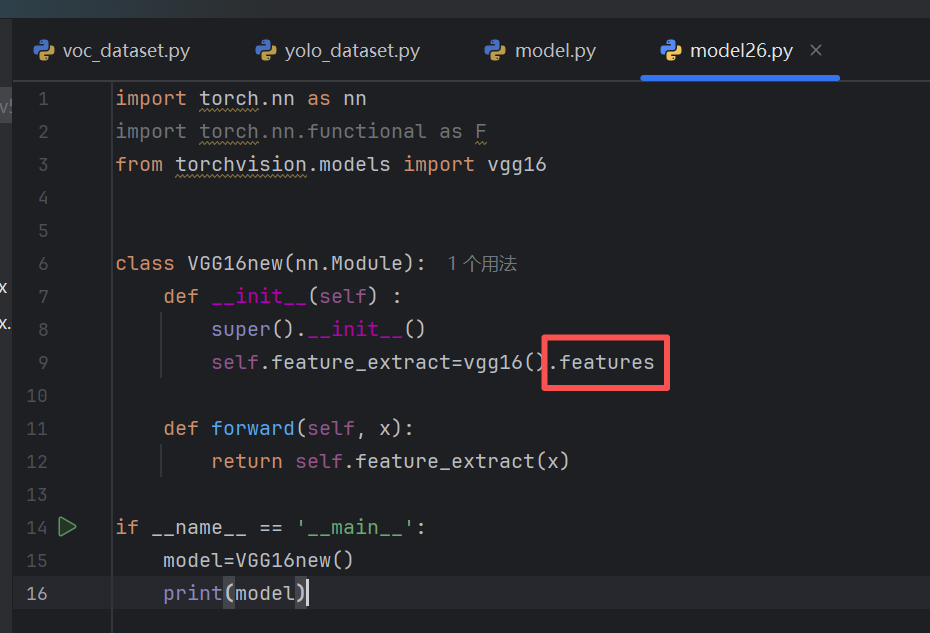
因为我们只要VGG16的特征提取部分所以
self.feature_extract=vgg16().features这里加一个.features即可
4.backbone主干部分代码
输入一张size为448*448的图片
输出
任务
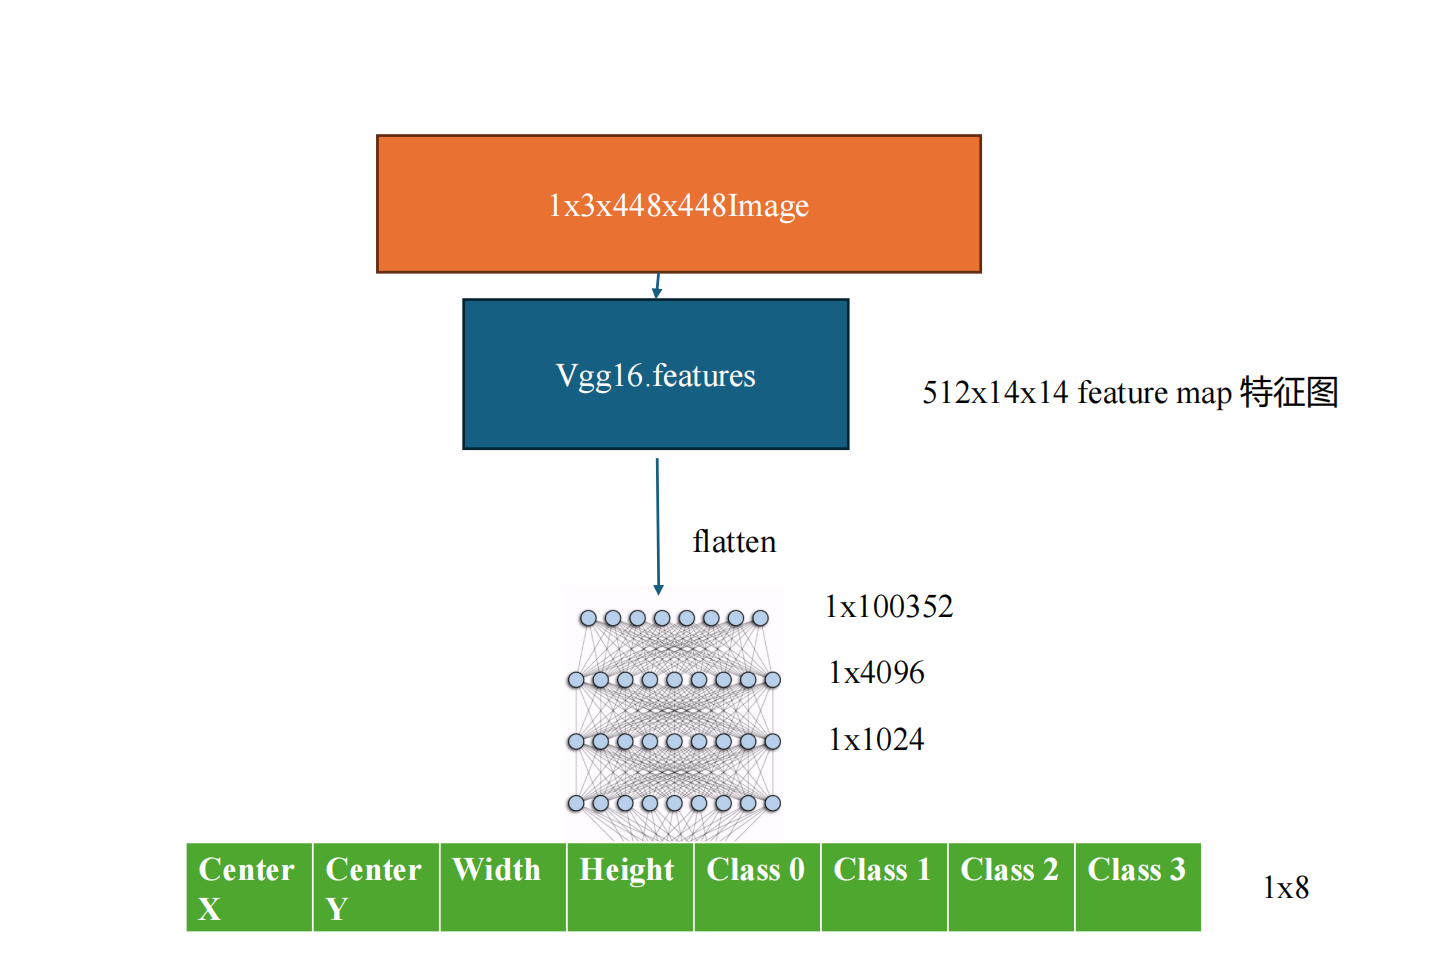
接下来补充输入和输出部分代码
input=torch.rand(1,3,448,448)
output=model(input)
print(output)
print(output.shape)

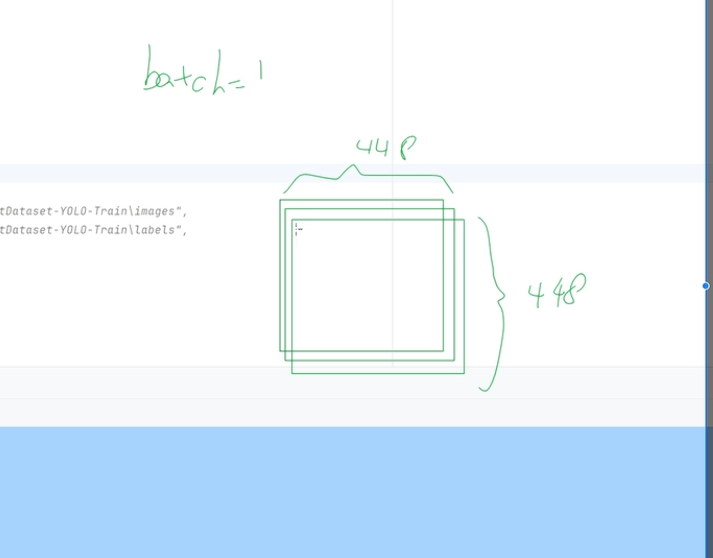
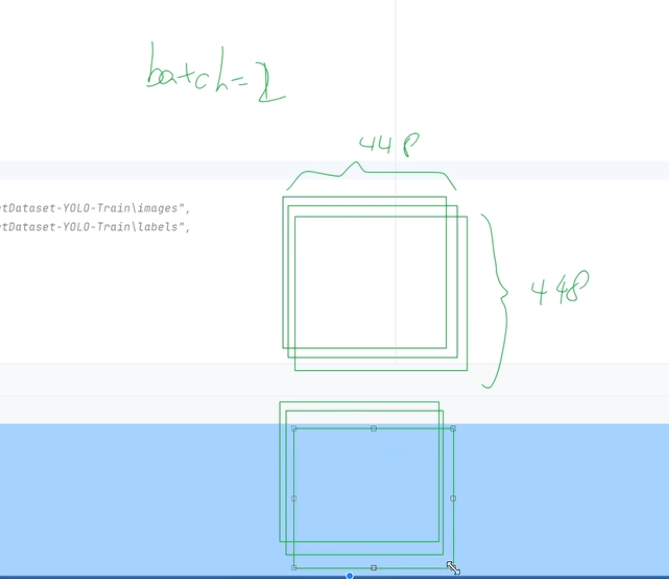
(1)输入部分
这个torch.rand(batch,channel,height,width)
(2)结果
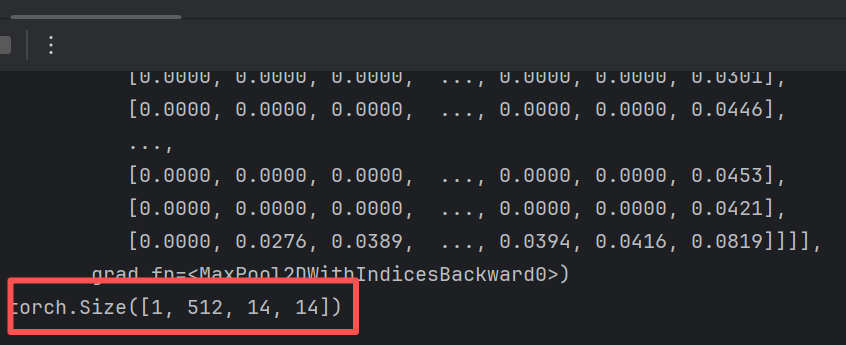
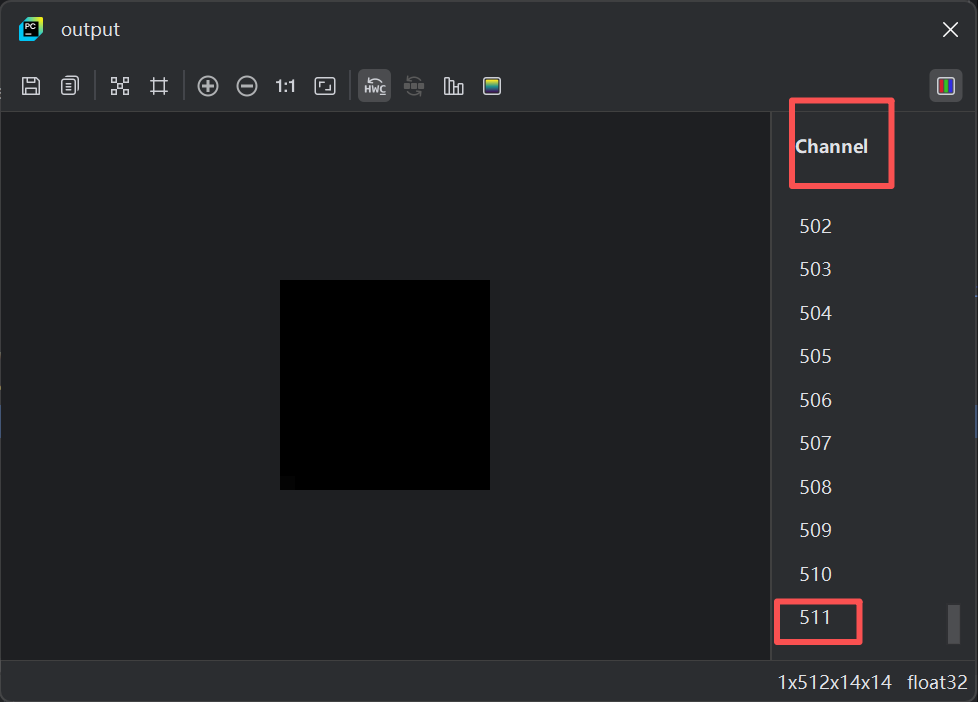
vgg6.feature特征提取之后得到512*14*14的特征图 feature map(512个通道
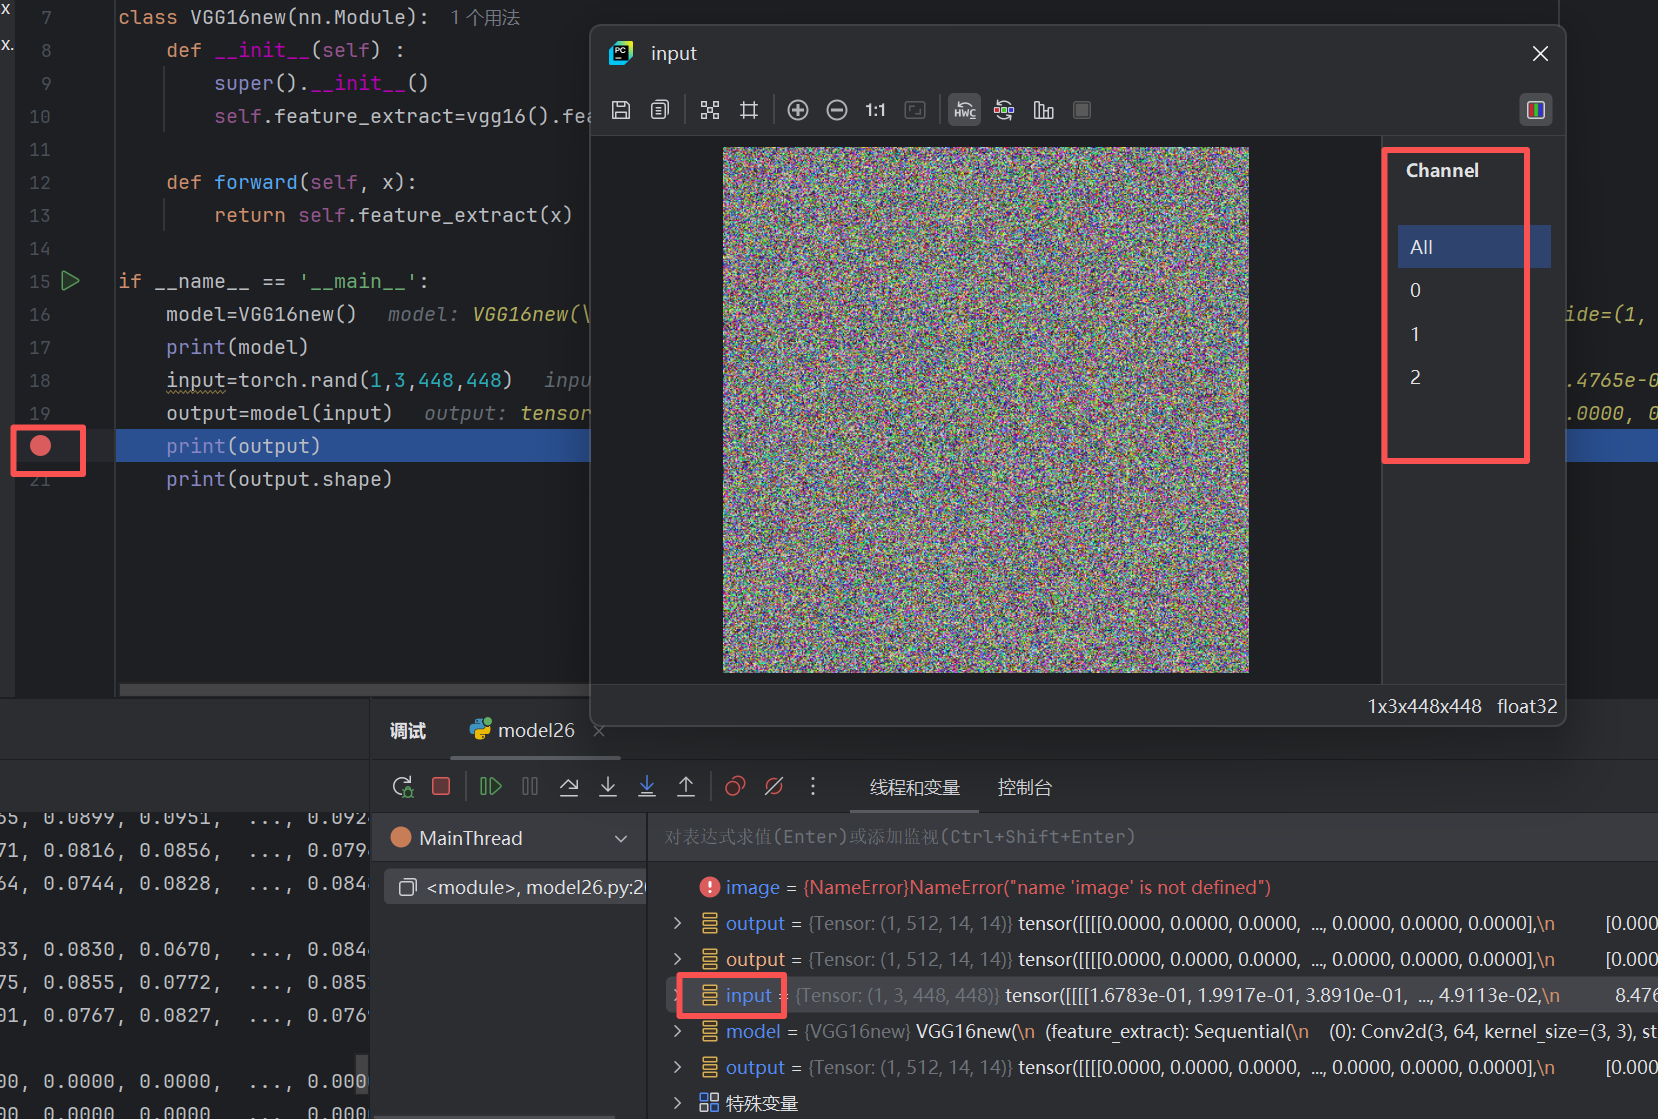
因为下载了pixelens这个插件 所以右键view as image即可
输入是3个channel,输出是512个channel
(3)代码
import torch
import torch.nn as nn
import torch.nn.functional as F
from torchvision.models import vgg16


class VGG16new(nn.Module):
    def __init__(self) :
        super().__init__()
        self.feature_extract=vgg16().features

    def forward(self, x):
        return self.feature_extract(x)

if __name__ == '__main__':
    model=VGG16new()
    print(model)
    input=torch.rand(1,3,448,448)
    output=model(input)
    print(output)
    print(output.shape)
5.head的FCN全连接层(linear pytorch network层)
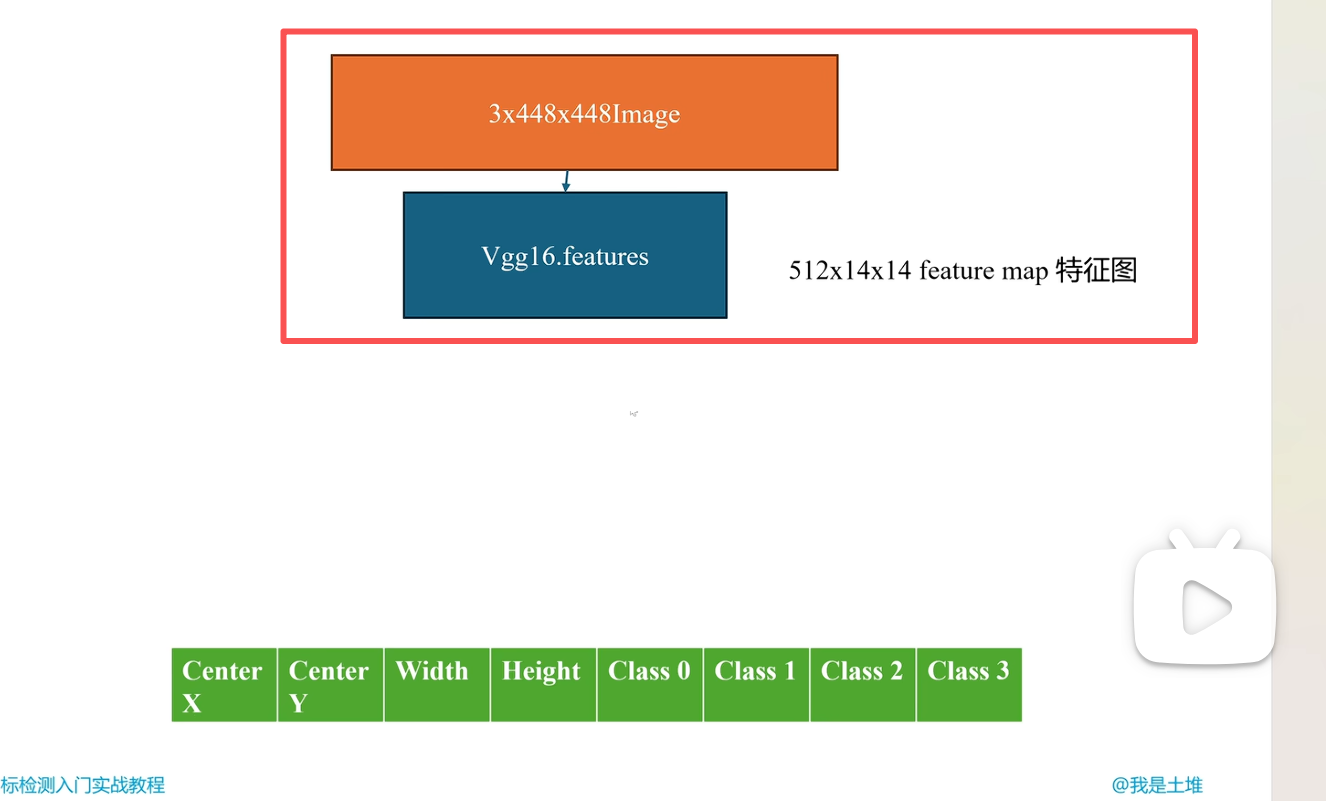
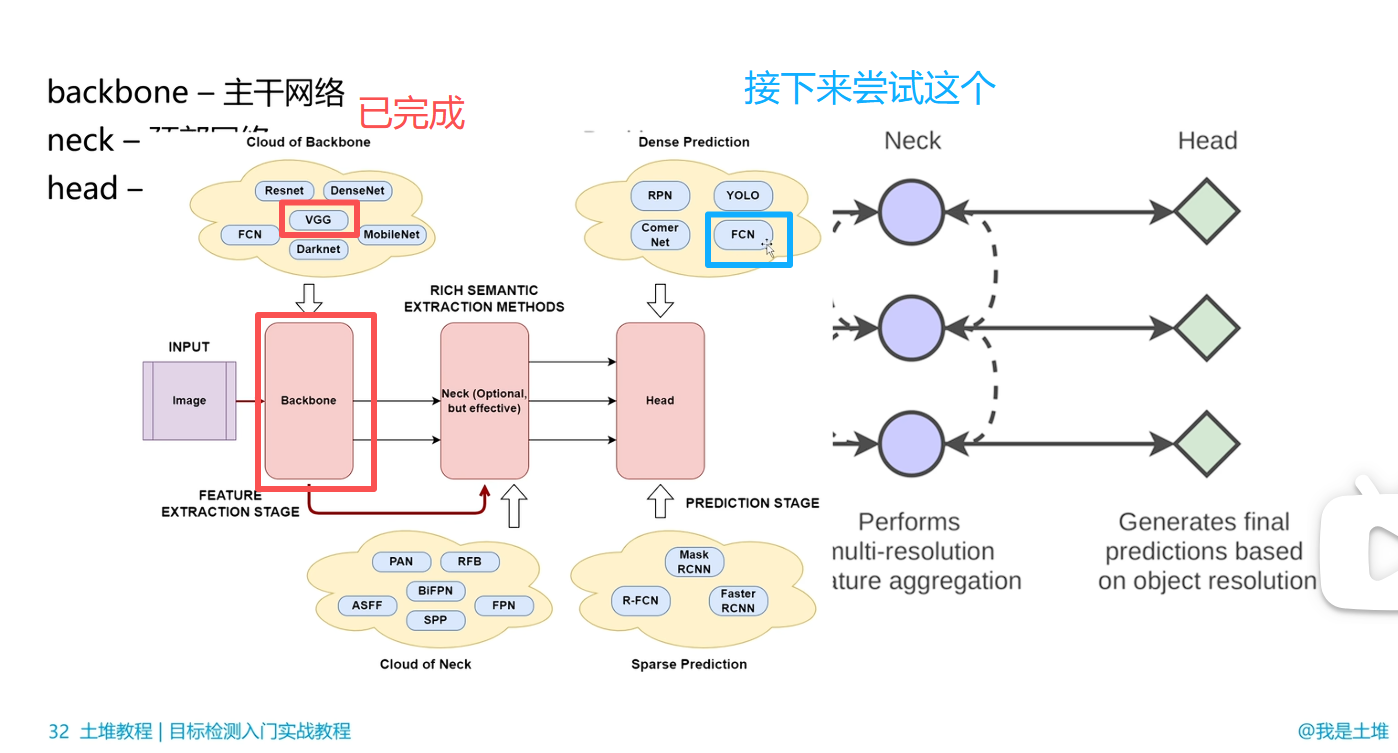
至此 已完成如下部分的backbone头部网络,还差head部分(FCN:fully connected network)
更正一下之前的nn.Linear
线性——PyTorch 2.13 文档 --- Linear — PyTorch 2.13 documentation
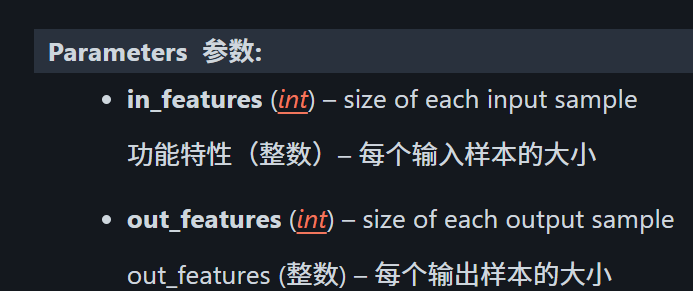
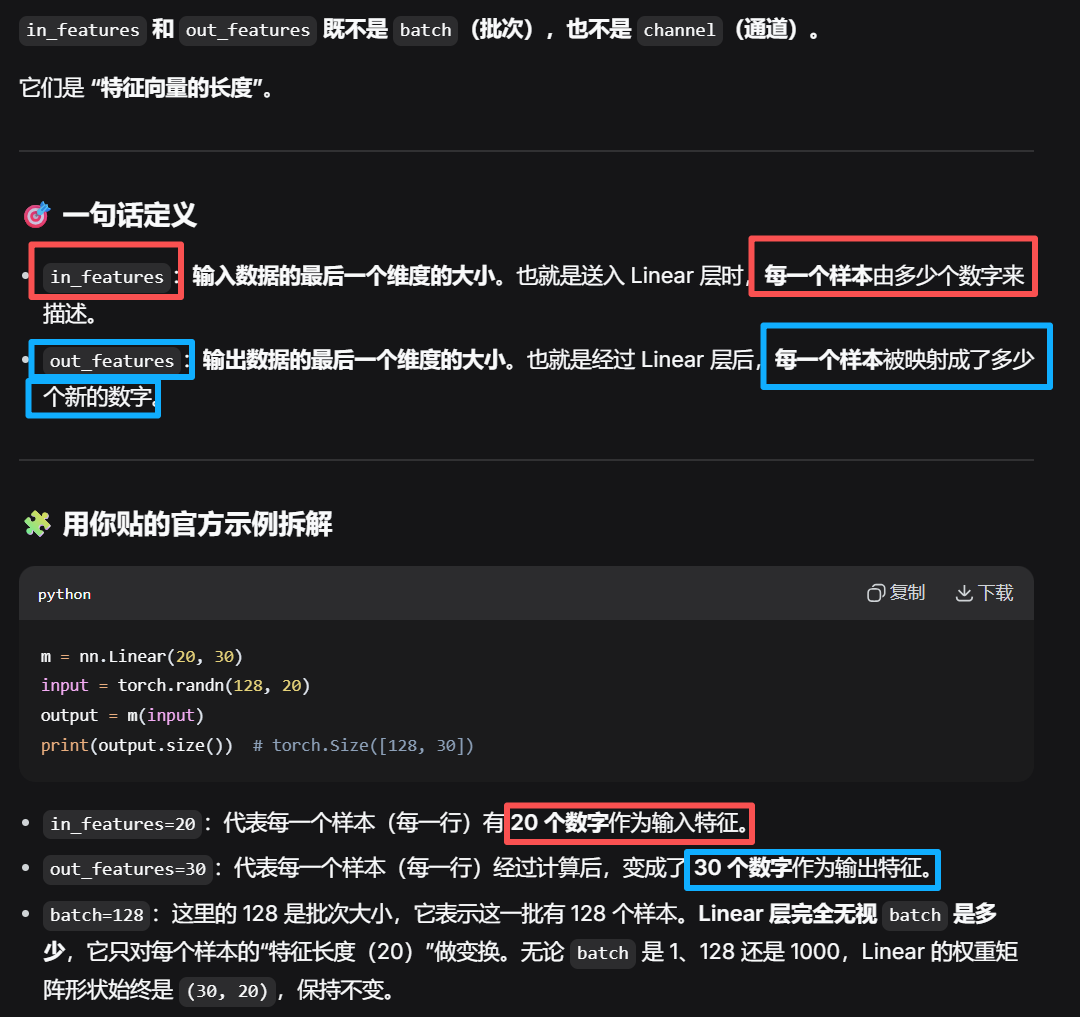
class torch.nn.Linear(in_features, out_features, bias=True, device=None, dtype=None)
下边就是linear
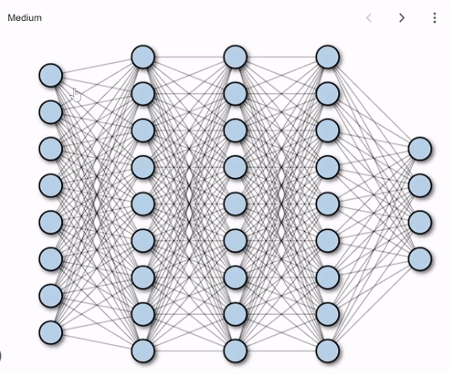
比如前两个就是linear(8,9)
接下来从512*14*14的特征图变成8个输出,需要用到的方法就是展平flatten
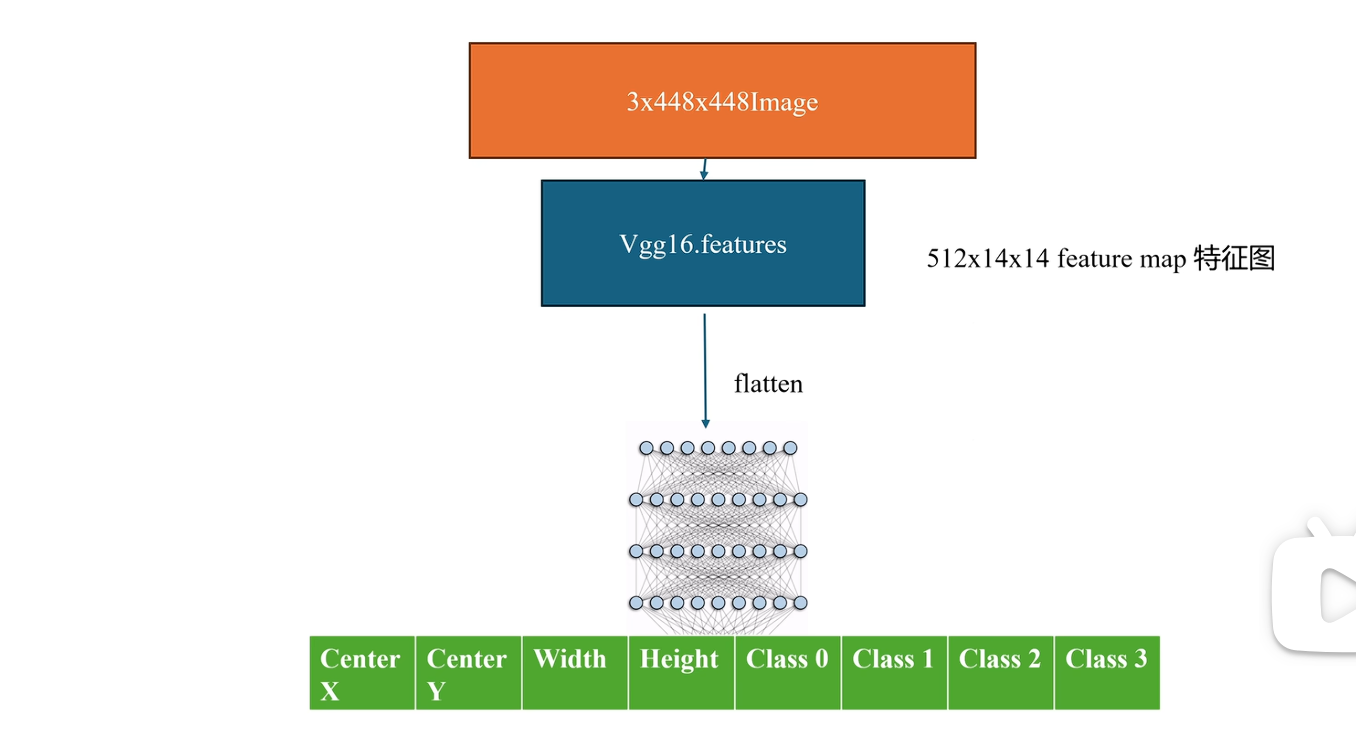
何为flatten?
比如这个左边是2通道2*2的,flatten之后变成右边的一行数字
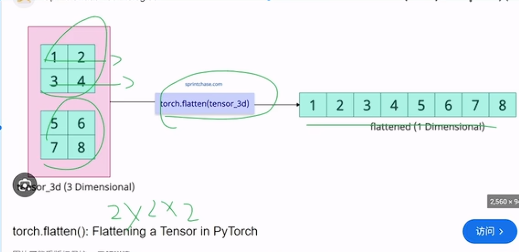
所以
接下来操作
接下来我们就是要把vgg16.feature特征提取层得到的512*14*14的特征图数字转化为一行共512*14*14=100352个数字(电脑win那块儿搜计算器)
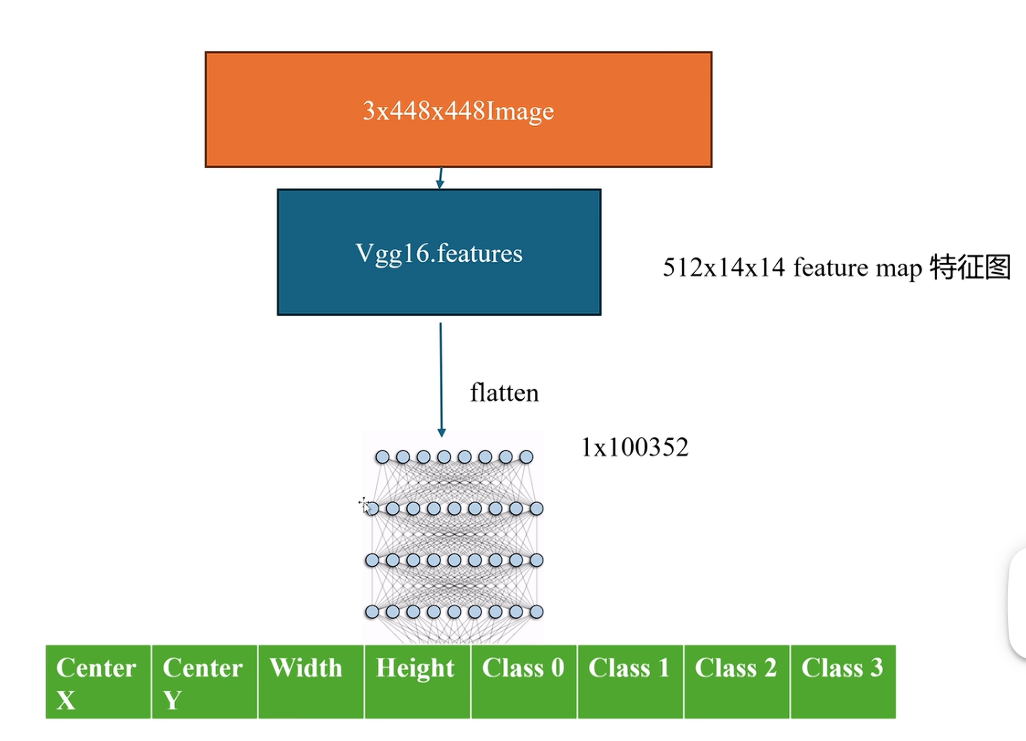
再就是把1*100352通过linear全连接层转化为1*8
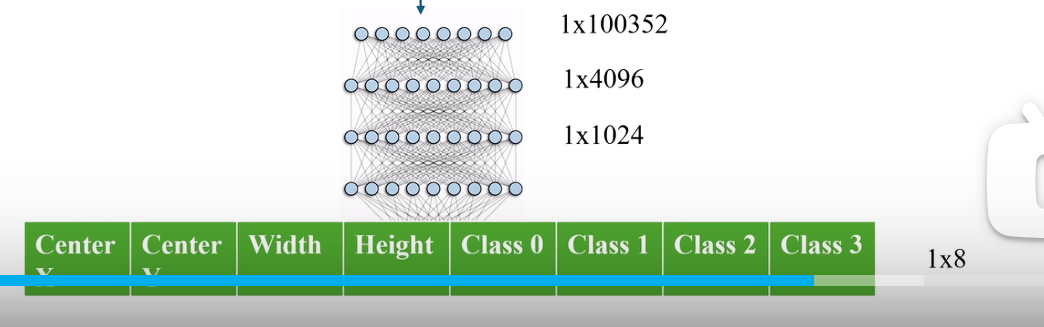
代码实现
1.自定义一个属性fc_layer里边是nn.Flatten()
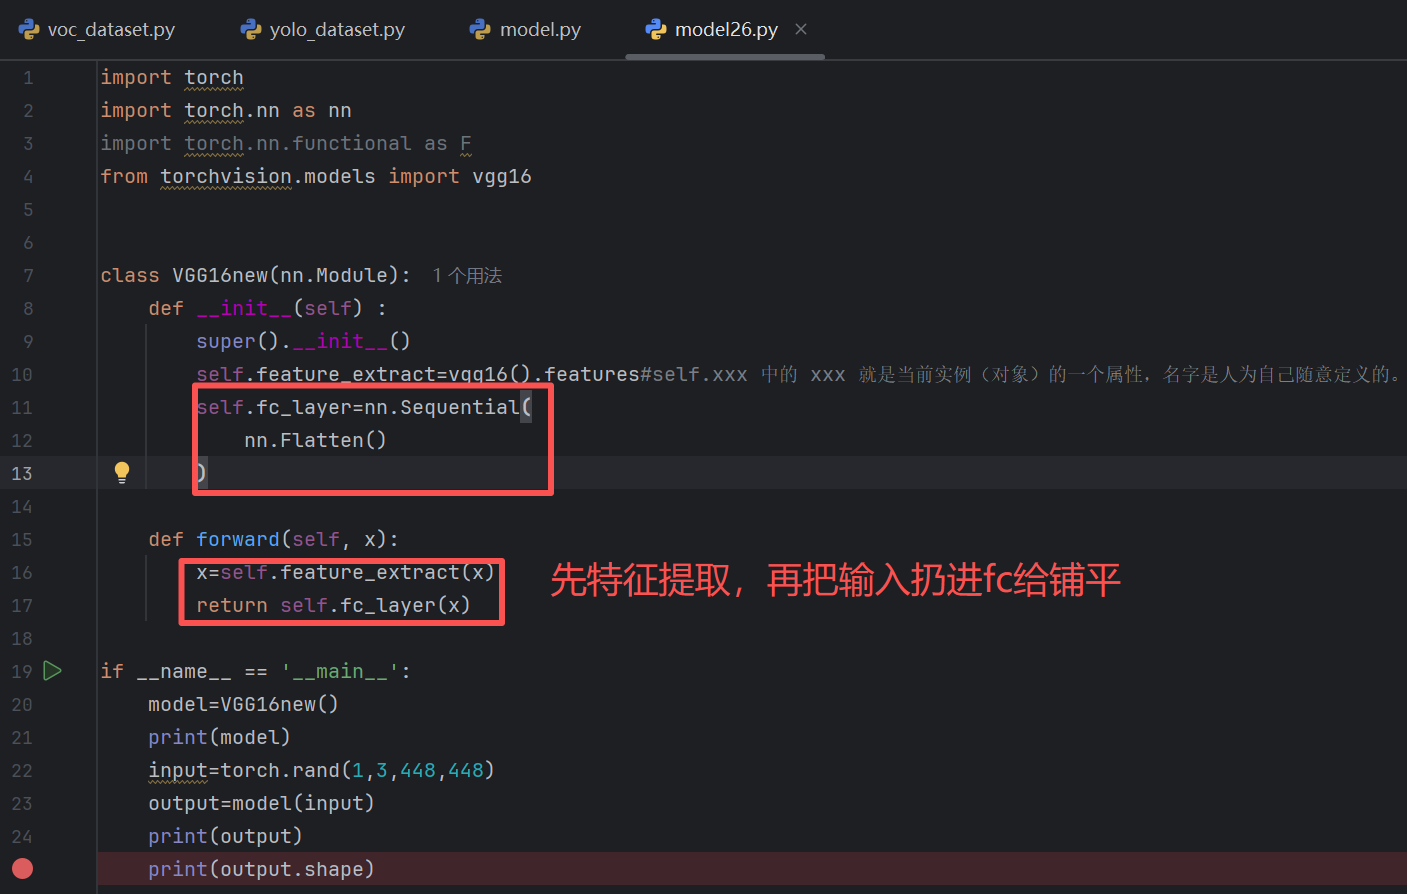
代码
import torch
import torch.nn as nn
import torch.nn.functional as F
from torchvision.models import vgg16


class VGG16new(nn.Module):
    def __init__(self) :
        super().__init__()
        self.feature_extract=vgg16().features#self.xxx 中的 xxx 就是当前实例(对象)的一个属性,名字是人为自己随意定义的。所以feature_extract自己起的名字
        self.fc_layer=nn.Sequential(
            nn.Flatten()
        )

    def forward(self, x):
        x=self.feature_extract(x)
        return self.fc_layer(x)

if __name__ == '__main__':
    model=VGG16new()
    print(model)
    input=torch.rand(1,3,448,448)
    output=model(input)
    print(output)
    print(output.shape)
运行结果
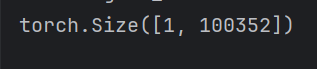
2.nn.Linear
中间层的话linear之后加一个非线性激活nn.ReLU()
但是最后一个linear之后不要加relu
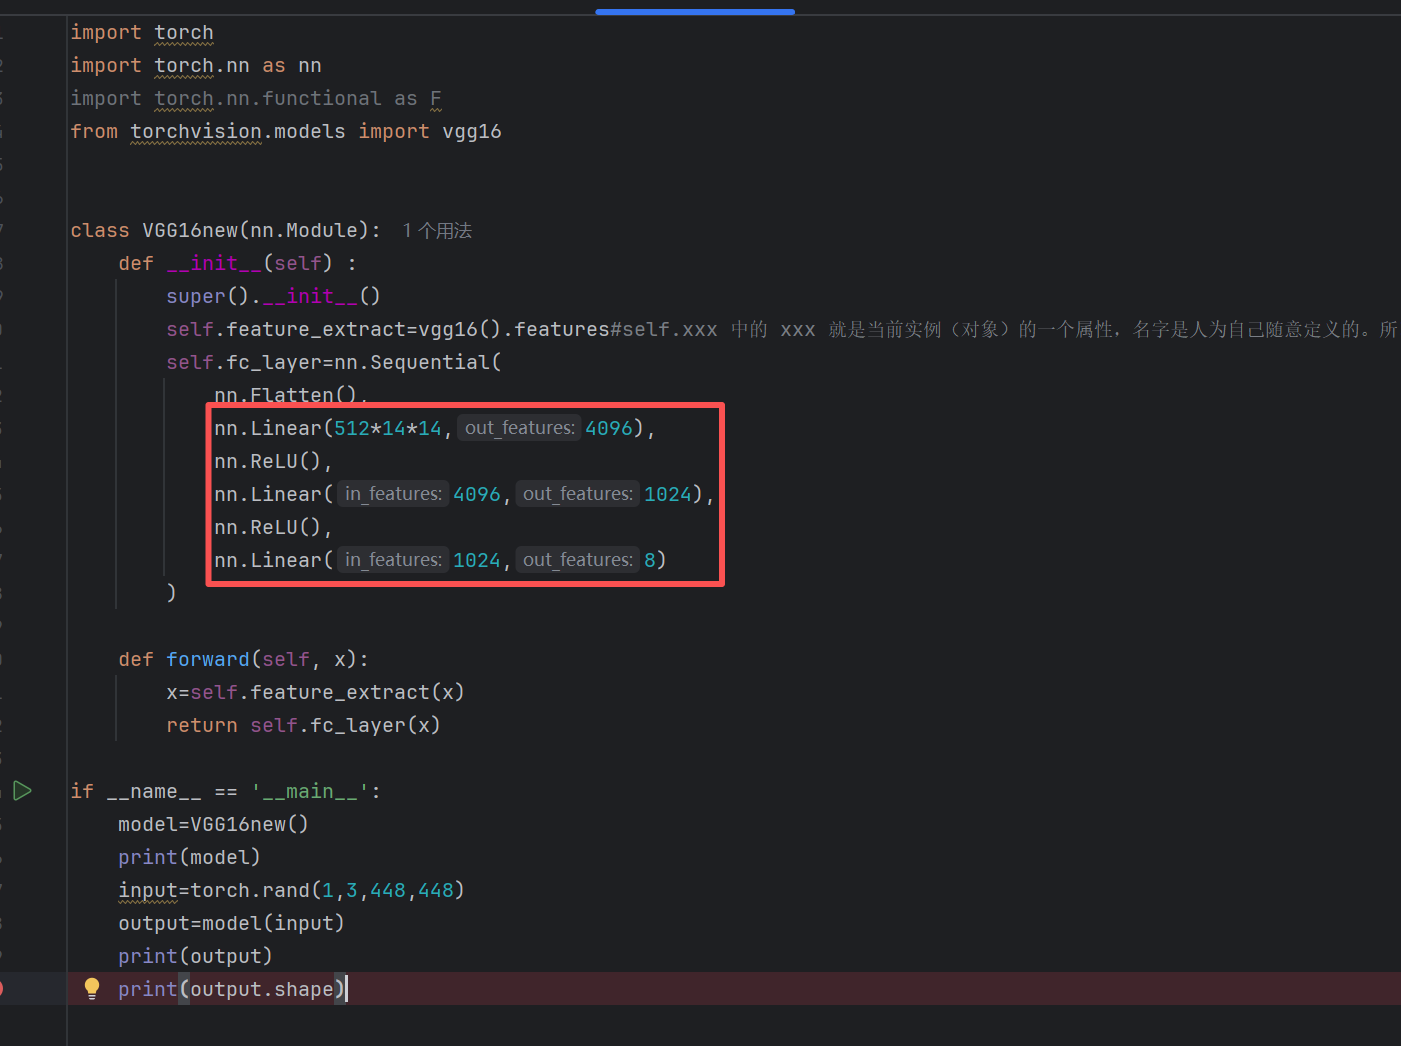
代码
import torch
import torch.nn as nn
import torch.nn.functional as F
from torchvision.models import vgg16


class VGG16new(nn.Module):
    def __init__(self) :
        super().__init__()
        self.feature_extract=vgg16().features#self.xxx 中的 xxx 就是当前实例(对象)的一个属性,名字是人为自己随意定义的。所以feature_extract自己起的名字
        self.fc_layer=nn.Sequential(
            nn.Flatten(),
            nn.Linear(512*14*14,4096),
            nn.ReLU(),
            nn.Linear(4096,1024),
            nn.ReLU(),
            nn.Linear(1024,8)
        )

    def forward(self, x):
        x=self.feature_extract(x)
        return self.fc_layer(x)

if __name__ == '__main__':
    model=VGG16new()
    print(model)
    input=torch.rand(1,3,448,448)
    output=model(input)
    print(output)
    print(output.shape)
DAMO开发者矩阵,由阿里巴巴达摩院和中国互联网协会联合发起,致力于探讨最前沿的技术趋势与应用成果,搭建高质量的交流与分享平台,推动技术创新与产业应用链接,围绕“人工智能与新型计算”构建开放共享的开发者生态。
更多推荐

 4
4 0
0- 0


 已为社区贡献2条内容

所有评论(0)