使用Python调用arcpy(arcgis的api)批量镶嵌Sentinel-2(哨兵2)数据
接着上一期《使用gdal批量预处理Sentinel2 L2A数据集并输出为TIFF文件》,我原本也想使用gdal来实现批量镶嵌哨兵2的栅格数据,但是实验了很久,总是有bug,不是很好用,而且代码又臭又长。所以我改用成调用arcgis的api来实现批量镶嵌哨兵2数据,我相信做遥感开发和数据处理会有acrgis的。 如果帮到大家,希望点个赞谢谢啦Ciallo~(∠・ω< )⌒★。
我的目的
接着上一期《使用gdal批量预处理Sentinel2 L2A数据集并输出为TIFF文件》,我原本也想使用gdal来实现批量镶嵌哨兵2的栅格数据,但是实验了很久,总是有bug,不是很好用,而且代码又臭又长。
所以我改用成调用arcgis的api来实现批量镶嵌哨兵2数据,我相信做遥感开发和数据处理会有acrgis的。 如果帮到大家,希望点个赞谢谢啦Ciallo~(∠・ω< )⌒★。
那么如何批量镶嵌Sentinel-2(哨兵2)数据?
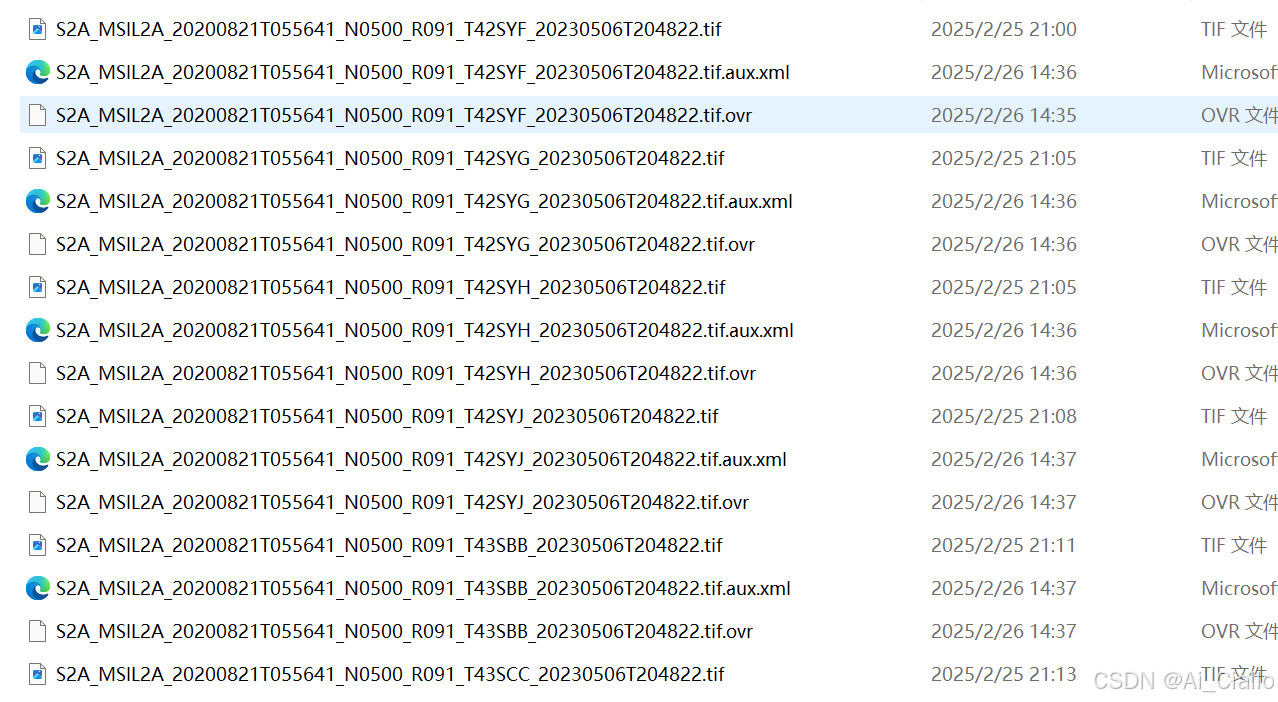
这是上期代码处理好的的Sentinel-2文件如下(因为我查看过影像,所以会有金字塔文件):
下面简单地介绍一下代码的功能,这段代码主要是实现批量镶嵌哨兵2数据:
1、设置工作空间和获取所有.tif文件
首先设置了一个工作路径。代码会扫描工作空间,收集文件夹中所有 .tif 文件,并准备进行合并。并且还可以镶嵌参数。
# 设置工作空间
arcpy.env.workspace = r"E:\BaiduNetdiskDownload\Tajikistan_186_tianditu\img_8_10\output\img"

# 输出栅格路径
output_raster = os.path.join(arcpy.env.workspace, f'Tajikistan_20_08_10.tif')  # 替换为输出路径

# 设置镶嵌参数
mosaic_type = "MAXIMUM"  # 镶嵌运算符为MAXIMUM(注意:必须是全大写)
mosaic_colormap_mode_type = "FIRST" #色彩映射表方式

# 获取文件夹中的所有.tif文件
tif_files = [os.path.join(arcpy.env.workspace, f) for f in os.listdir(arcpy.env.workspace) if f.endswith('.tif')]

if not tif_files:
    print("文件夹中没有找到.tif文件!")
exit()2、自动设置栅格参数
读取第一个栅格文件的像素类型(比如 8 位、16 位等)、像元大小和波段数,这些信息会用于创建最终合并后的影像。
# 读取第一个影像的像素位数
first_raster = arcpy.Raster(tif_files[0])
pixel_type = first_raster.pixelType  # 获取像素位数

# 映射像素类型
pixel_type_map = {
    "U1": "1_BIT",          # 1位
    "U2": "2_BIT",          # 2位
    "U4": "4_BIT",          # 4位
    "U8": "8_BIT_UNSIGNED", # 8位无符号整数
    "S8": "8_BIT_SIGNED",   # 8位有符号整数
    "U16": "16_BIT_UNSIGNED", # 16位无符号整数
    "S16": "16_BIT_SIGNED",   # 16位有符号整数
    "U32": "32_BIT_UNSIGNED", # 32位无符号整数
    "S32": "32_BIT_SIGNED",   # 32位有符号整数
    "F32": "32_BIT_FLOAT",    # 32位浮点数
    "F64": "64_BIT"           # 64位浮点数
}

# 获取映射后的像素类型
pixel_type = pixel_type_map.get(pixel_type, "16_BIT_FLOAT")  # 默认使用32位浮点数
cell_size = first_raster.meanCellWidth  # 获取X方向像元大小
band_count = first_raster.bandCount    # 获取波段数

print(f"第一个影像参数识别结果:\n"
      f"像素位数: {pixel_type}\n"
      f"像元大小: {cell_size}\n"
      f"波段数量: {band_count}")
3、镶嵌操作
使用 MosaicToNewRaster_management 函数将所有 .tif 文件合并成一个新的栅格影像。在合并过程中,选择使用“最大值”方法(MAXIMUM),意味着如果影像有重叠区域,重叠部分会选择最大像素值。使用 FIRST 色彩映射模式,表示合并后影像的颜色会根据第一个影像的色彩映射表来决定。
# 执行镶嵌操作
print(tif_files)
try:
    arcpy.MosaicToNewRaster_management(
        input_rasters=tif_files,
        output_location=os.path.dirname(output_raster),
        raster_dataset_name_with_extension=os.path.basename(output_raster),
        pixel_type=pixel_type,  # 使用映射后的像素位数
        cellsize=cell_size,
        number_of_bands=band_count,
        mosaic_method=mosaic_type,  # 镶嵌运算符
        mosaic_colormap_mode=mosaic_colormap_mode_type
    )
    print("镶嵌完成,输出栅格保存在: {}".format(output_raster))
except arcpy.ExecuteError as e:
    print("镶嵌操作失败: {}".format(str(e)))
4、创建金字塔
为合并后的影像生成金字塔层级,这样在查看时可以更快速地加载和渲染大范围的影像。如果在镶嵌或创建金字塔的过程中出错,代码会捕获错误并输出错误信息,避免程序崩溃。
# 创建金字塔
try:
arcpy.BuildPyramids_management(output_raster, pyramid_level=10, skip_existing=True)
print("金字塔创建成功!")
except Exception as e:
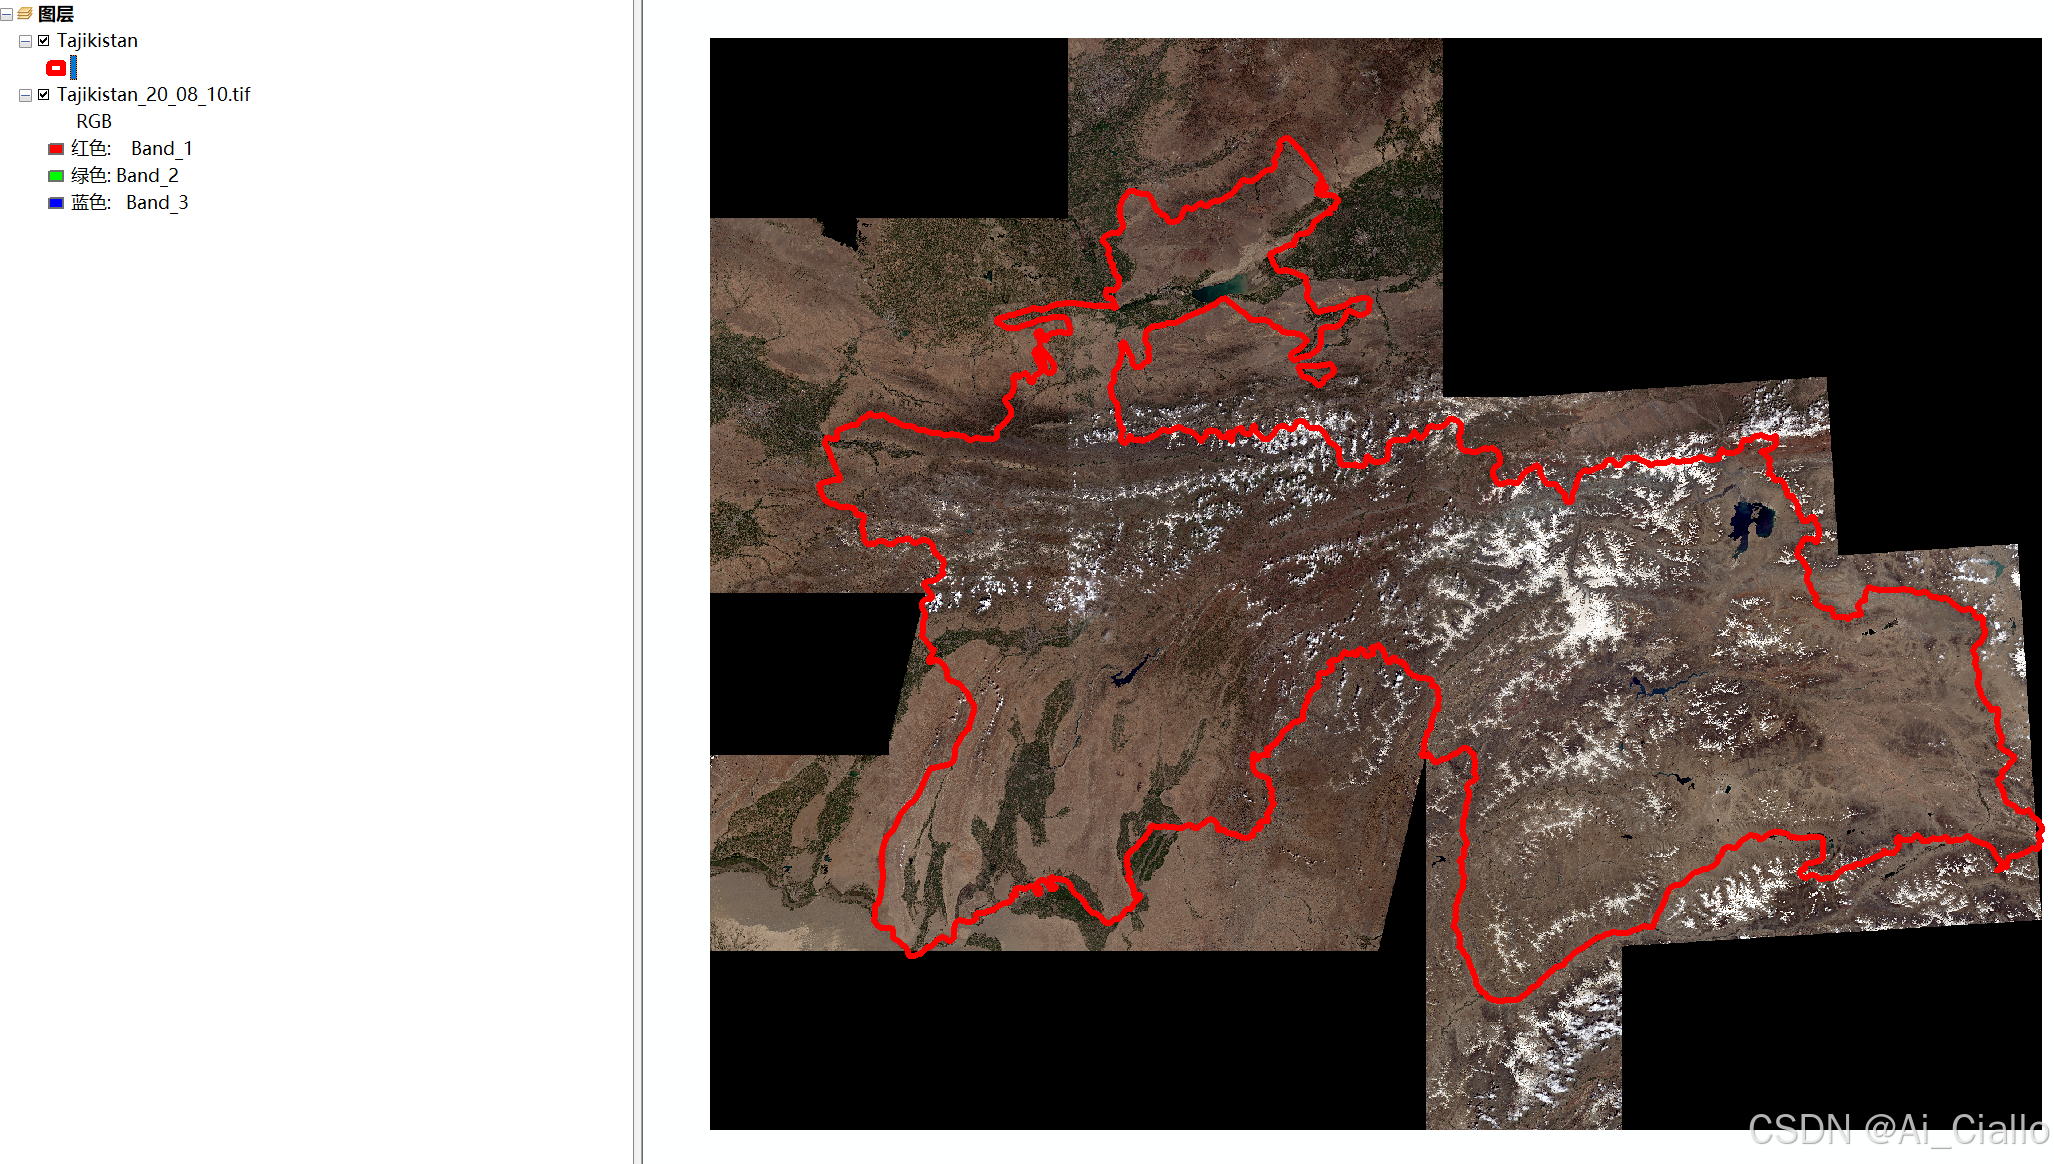
print("创建金字塔时出错: {}".format(str(e)))5、代码运行效果图
省流版:直接看代码集合(点赞关注一下,谢谢)
import arcpy
import os

# 设置工作空间
arcpy.env.workspace = r"E:\BaiduNetdiskDownload\Tajikistan_186_tianditu\img_8_10\output\img"

# 输出栅格路径
output_raster = os.path.join(arcpy.env.workspace, f'Tajikistan_20_08_10.tif')  # 替换为输出路径

# 设置镶嵌参数
mosaic_type = "MAXIMUM"  # 镶嵌运算符为MAXIMUM(注意:必须是全大写)
mosaic_colormap_mode_type = "FIRST" #色彩映射表方式

# 获取文件夹中的所有.tif文件
tif_files = [os.path.join(arcpy.env.workspace, f) for f in os.listdir(arcpy.env.workspace) if f.endswith('.tif')]

if not tif_files:
    print("文件夹中没有找到.tif文件!")
    exit()

# 读取第一个影像的像素位数
first_raster = arcpy.Raster(tif_files[0])
pixel_type = first_raster.pixelType  # 获取像素位数

# 映射像素类型
pixel_type_map = {
    "U1": "1_BIT",          # 1位
    "U2": "2_BIT",          # 2位
    "U4": "4_BIT",          # 4位
    "U8": "8_BIT_UNSIGNED", # 8位无符号整数
    "S8": "8_BIT_SIGNED",   # 8位有符号整数
    "U16": "16_BIT_UNSIGNED", # 16位无符号整数
    "S16": "16_BIT_SIGNED",   # 16位有符号整数
    "U32": "32_BIT_UNSIGNED", # 32位无符号整数
    "S32": "32_BIT_SIGNED",   # 32位有符号整数
    "F32": "32_BIT_FLOAT",    # 32位浮点数
    "F64": "64_BIT"           # 64位浮点数
}

# 获取映射后的像素类型
pixel_type = pixel_type_map.get(pixel_type, "16_BIT_FLOAT")  # 默认使用32位浮点数
cell_size = first_raster.meanCellWidth  # 获取X方向像元大小
band_count = first_raster.bandCount    # 获取波段数

print(f"第一个影像参数识别结果:\n"
      f"像素位数: {pixel_type}\n"
      f"像元大小: {cell_size}\n"
      f"波段数量: {band_count}")

# 执行镶嵌操作
print(tif_files)
try:
    arcpy.MosaicToNewRaster_management(
        input_rasters=tif_files,
        output_location=os.path.dirname(output_raster),
        raster_dataset_name_with_extension=os.path.basename(output_raster),
        pixel_type=pixel_type,  # 使用映射后的像素位数
        cellsize=cell_size,
        number_of_bands=band_count,
        mosaic_method=mosaic_type,  # 镶嵌运算符
        mosaic_colormap_mode=mosaic_colormap_mode_type
    )
    print("镶嵌完成,输出栅格保存在: {}".format(output_raster))
except arcpy.ExecuteError as e:
    print("镶嵌操作失败: {}".format(str(e)))

# 创建金字塔
try:
    arcpy.BuildPyramids_management(output_raster, pyramid_level=10, skip_existing=True)
    print("金字塔创建成功!")
except Exception as e:
    print("创建金字塔时出错: {}".format(str(e)))
DAMO开发者矩阵,由阿里巴巴达摩院和中国互联网协会联合发起,致力于探讨最前沿的技术趋势与应用成果,搭建高质量的交流与分享平台,推动技术创新与产业应用链接,围绕“人工智能与新型计算”构建开放共享的开发者生态。
更多推荐


 25
25 0
0- 0


 已为社区贡献2条内容

所有评论(0)