AI Skill系统两种架构方案:实现与总结(附开源代码)
面向初学者的理解版
目标:搞清楚 Skill 是什么、怎么选中、怎么影响 Tool 调用
1. 先理解几个核心概念
在开始之前,先分清 3 个东西:
1.1 Skill
Skill 不是“真正执行动作的函数”,它更像:
- 行为规则
- 工作流程提示
- 领域知识
- 任务模板
- 最佳实践说明书
例如:
- React 重构规范
- 测试编写规范
- API 排查流程
- 安全修改代码的步骤
1.2 Tool
Tool 是 AI 真正调用的“动作接口”,例如:
read_file(path)search_code(query)edit_file(path, content)run_terminal(command)
Tool 负责真正干活。
1.3 Skill 和 Tool 的关系
可以这样记:
- Skill 决定“怎么做更好”
- Tool 决定“真正去做什么动作”
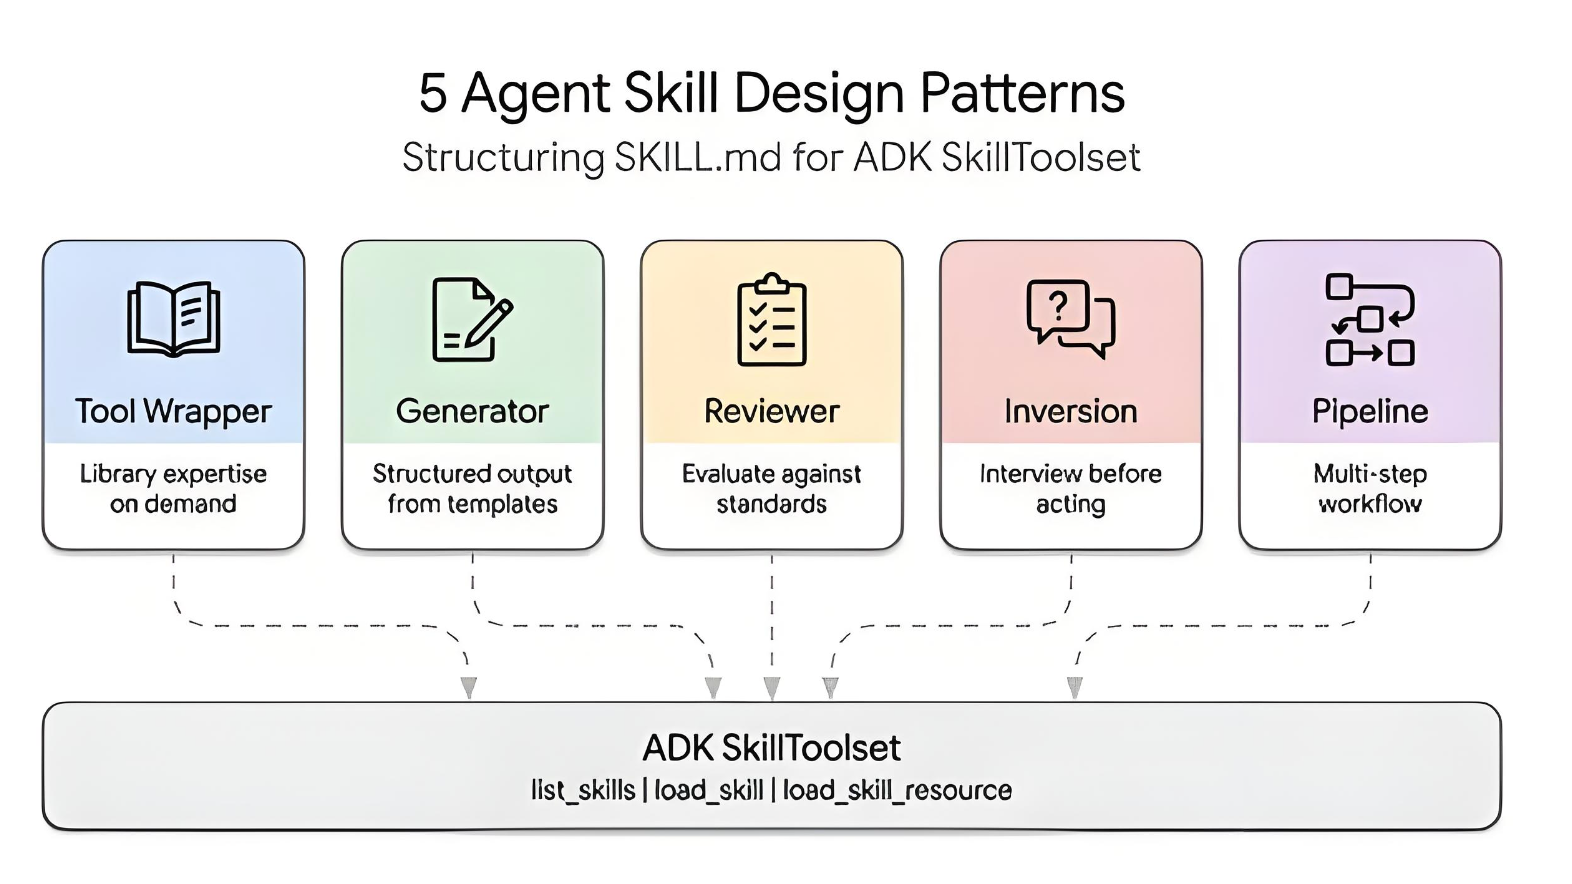
2. 方案一:简单版架构
2.1 核心思路
先通过 本地规则 / 关键词 / 向量检索 从很多 Skill 中选出相关的几个,
然后把这些 Skill 的正文放进 Prompt,
最后让模型在这些 Skill 的影响下调用真正的 Tool。
这个方案的核心特点是:
Skill 选择不一定通过模型完成,而可以先检索;正式解决问题时只做一次模型调用。
2.2 流程图
用户提问
   ↓
检索相关 Skill(关键词 / 向量 / 标签)
   ↓
得到命中的 Skill
   ↓
把 Skill 正文注入 Prompt
   ↓
把 Tool 列表一起给模型
   ↓
模型开始解决问题
   ↓
模型决定是否调用 Tool
   ↓
执行 Tool
   ↓
返回结果并继续回答
2.3 Skill 文件格式示例
示例:react-refactor.md
---
name: react-refactor
description: Refactor React components using hooks and typed props
tags: [react, frontend, refactor]
triggers: [component, hook, props, jsx]
---

# React Refactor Skill

When refactoring React components:
1. Prefer hooks over class components
2. Keep props typed
3. Check related test files before editing
4. Make minimal and safe edits
5. Suggest running tests after changes
示例:test-writer.md
---
name: test-writer
description: Write or update tests for code changes
tags: [test, jest, vitest]
triggers: [test, spec, jest, vitest]
---

# Test Writer Skill

When writing tests:
1. Reuse existing test conventions
2. Prefer minimal, focused test cases
3. Check nearby test files first
4. Keep assertions clear
2.4 实现步骤
第一步:扫描 Skills 目录
把所有 .md 文件读出来,提取:
- name
- description
- tags
- triggers
- content
第二步:生成 Skill 索引
例如:
[
  {
    name: 'react-refactor',
    description: 'Refactor React components using hooks and typed props',
    tags: ['react', 'frontend', 'refactor'],
    triggers: ['component', 'hook', 'props', 'jsx'],
    content: '...完整正文...'
  }
]
第三步:根据用户问题检索 Skill
比如用户说:
帮我把这个 class component 改成 hooks,并补一下测试
那就会命中:
react-refactortest-writer
第四步:把命中 Skill 正文注入 Prompt
Prompt 结构可能是:
- system prompt
- activated skills
- user message
- tools definition
第五步:模型决定是否调用 Tool
例如模型先调用:
search_coderead_fileedit_file
2.5 伪代码示例
// 1. 读取 skills
function loadSkills() {
  return [
    {
      name: 'react-refactor',
      description: 'Refactor React components using hooks and typed props',
      tags: ['react', 'frontend', 'refactor'],
      triggers: ['component', 'hook', 'props', 'jsx'],
      content: `
When refactoring React components:
1. Prefer hooks over class components
2. Keep props typed
3. Check related test files before editing
4. Make minimal and safe edits
`
    },
    {
      name: 'test-writer',
      description: 'Write or update tests for code changes',
      tags: ['test', 'jest', 'vitest'],
      triggers: ['test', 'spec', 'jest', 'vitest'],
      content: `
When writing tests:
1. Reuse existing test conventions
2. Prefer minimal test cases
3. Check nearby test files first
`
    }
  ];
}

// 2. 简单匹配 skills
function selectSkills(userQuery, skills) {
  return skills.filter(skill => {
    const text = `${skill.description} ${skill.tags.join(' ')} ${skill.triggers.join(' ')}`.toLowerCase();
    return userQuery.toLowerCase().split(/\s+/).some(word => text.includes(word));
  });
}

// 3. 构造 prompt
function buildPrompt(userQuery, matchedSkills) {
  const skillsText = matchedSkills
    .map(skill => `## Activated Skill: ${skill.name}\n${skill.content}`)
    .join('\n\n');

  return `
You are a coding assistant.

${skillsText}

User request:
${userQuery}
`;
}

// 4. 主流程
async function handleUserQuery(userQuery) {
  const skills = loadSkills();
  const matchedSkills = selectSkills(userQuery, skills);
  const prompt = buildPrompt(userQuery, matchedSkills);

  const tools = [
    { name: 'read_file' },
    { name: 'search_code' },
    { name: 'edit_file' },
    { name: 'run_terminal' }
  ];

  // 这里调用大模型
  const result = await callLLM({
    prompt,
    tools
  });

  return result;
}
2.6 优缺点
优点
- 实现简单
- 适合初学者
- 成本低
- 响应快
- Skill 逻辑清晰
缺点
- Skill 选择可能不够智能
- Skill 多了以后检索逻辑需要升级
- 适合“中小规模 skill 系统”
- 动态切换 Skill 的能力较弱
2.7 适用场景
适合:
- 学习项目
- MVP
- 技术验证
- 小型 AI 编码助手
- Skill 数量不多的系统
3. 方案二:高级版架构
3.1 核心思路
先不给模型所有 Skill 正文,
而是先只给 Skill 摘要目录,
让模型先决定:
“这次应该激活哪个 Skill?”
然后把“激活 Skill”设计成一种特殊 Tool,例如:
activate_skill("react-refactor")
激活后系统再把这个 Skill 的正文放进上下文,
然后模型再继续推理,最终调用真正业务 Tool。
这个方案的核心特点是:
Skill 的选择本身也进入了模型决策流程。
3.2 流程图
用户提问
   ↓
给模型:用户问题 + Skill 摘要目录 + 可用工具
   ↓
模型判断需要激活哪个 Skill
   ↓
模型调用 activate_skill(skill_name)
   ↓
系统加载该 Skill 正文
   ↓
重新构造上下文
   ↓
模型继续推理
   ↓
模型决定是否调用 read_file / edit_file / run_terminal 等真正工具
   ↓
执行工具
   ↓
返回结果并继续任务
3.3 Skill 文件格式示例
示例:api-debugger.md
---
name: api-debugger
description: Debug Node.js or Express API issues
tags: [api, backend, node, express, debug]
tools_hint: [search_code, read_file, run_terminal]
---

# API Debugger Skill

When debugging APIs:
1. Start from the route handler
2. Trace service and database calls
3. Identify request/response shape
4. Check logs and error stacks
5. Prefer minimal fixes
Skill 摘要目录可能长这样:
[
  {
    "name": "react-refactor",
    "description": "Refactor React components using hooks and typed props"
  },
  {
    "name": "test-writer",
    "description": "Write or update tests for code changes"
  },
  {
    "name": "api-debugger",
    "description": "Debug Node.js or Express API issues"
  }
]
3.4 实现步骤
第一步:维护一份 Skill 摘要目录
不把所有正文都送进去,只给简短描述。
第二步:给模型一个特殊 Tool
例如:
{
  "name": "activate_skill",
  "description": "Activate a skill by name so the system can load its detailed instructions"
}
第三步:模型先选 Skill
例如用户说:
帮我排查这个 Express 接口报 500 的原因
模型可能先调用:
{
  "tool": "activate_skill",
  "args": {
    "name": "api-debugger"
  }
}
第四步:系统加载 Skill 正文
系统收到 activate_skill("api-debugger") 后,把该 Skill 正文加入上下文。
第五步:模型继续推理
这时模型已经“进入了 API 排查模式”,然后再决定调用:
search_coderead_filerun_terminal
3.5 伪代码示例
const skillCatalog = [
  {
    name: 'react-refactor',
    description: 'Refactor React components using hooks and typed props'
  },
  {
    name: 'test-writer',
    description: 'Write or update tests for code changes'
  },
  {
    name: 'api-debugger',
    description: 'Debug Node.js or Express API issues'
  }
];

const skillContents = {
  'react-refactor': `
When refactoring React components:
1. Prefer hooks
2. Keep props typed
3. Check test files before editing
`,
  'test-writer': `
When writing tests:
1. Reuse existing test style
2. Keep tests minimal and focused
`,
  'api-debugger': `
When debugging APIs:
1. Start from route handler
2. Trace service and DB calls
3. Check logs and errors
`
};

async function handleUserQueryAdvanced(userQuery) {
  let messages = [
    {
      role: 'system',
      content: `You are a coding assistant.
Available skills:
${skillCatalog.map(s => `- ${s.name}: ${s.description}`).join('\n')}
`
    },
    {
      role: 'user',
      content: userQuery
    }
  ];

  const tools = [
    {
      name: 'activate_skill',
      description: 'Activate a skill by name'
    },
    { name: 'read_file' },
    { name: 'search_code' },
    { name: 'edit_file' },
    { name: 'run_terminal' }
  ];

  while (true) {
    const response = await callLLM({ messages, tools });

    if (response.toolCall?.name === 'activate_skill') {
      const skillName = response.toolCall.args.name;
      const skillContent = skillContents[skillName];

      messages.push({
        role: 'tool',
        content: `Skill "${skillName}" activated.\n${skillContent}`
      });

      continue;
    }

    if (response.toolCall) {
      const toolResult = await executeTool(response.toolCall);
      messages.push({
        role: 'tool',
        content: JSON.stringify(toolResult)
      });
      continue;
    }

    return response;
  }
}
3.6 优缺点
优点
- 更灵活
- 更适合 Skill 很多的系统
- 可以动态切换 Skill
- Skill 激活过程更可观察
- 更接近真正的 Agent 编排
缺点
- 实现更复杂
- 通常不止一次模型调用
- Skill 与 Tool 的边界更容易混淆
- 调试和控制成本更高
3.7 适用场景
适合:
- Skill 很多
- 希望动态激活不同 Skill
- 想做更强的 Agent 系统
- 想记录模型到底选择了哪些 Skill
- 企业级复杂工作流

4. 两种方案的区别总结
| 对比项 | 方案一:简单版 | 方案二:高级版 |
|---|---|---|
| Skill 选择方式 | 先检索,再注入正文 | 先给摘要,让模型自己激活 |
| Skill 正文何时加载 | 一开始就加载命中 Skill 正文 | 模型激活后再加载 |
| 模型调用次数 | 通常更少 | 通常更多 |
| 实现难度 | 低 | 高 |
| 灵活性 | 中 | 高 |
| 动态切换 Skill | 一般 | 强 |
| 是否适合初学者 | 非常适合 | 更适合进阶 |
| 是否容易调试 | 容易 | 较复杂 |
5. 初学者应该怎么选
如果你刚开始学
优先选 方案一。
原因:
- 结构最清楚
- 容易实现
- 容易调试
- 更容易理解 Skill 的本质
- 不容易把 Skill 和 Tool 混在一起
如果你已经理解了 Agent / Tool Calling
可以尝试 方案二。
因为方案二更接近真实复杂系统,例如:
- Cursor 类产品
- 多 Skill 编排系统
- 企业内部 AI 工作流助手
6. 最终总结
可以把这两种方案记成两句话:
方案一
先选 Skill,再让模型工作。
流程是:
- 检索 Skill
- 注入 Skill 正文
- 模型解决问题
- 模型调用 Tool
方案二
先让模型决定该激活哪个 Skill,再继续工作。
流程是:
- 给模型 Skill 摘要
- 模型调用
activate_skill - 系统加载 Skill 正文
- 模型继续推理
- 模型调用真正 Tool
一句话对比
- 方案一更像:提前准备好说明书再干活
- 方案二更像:先问要哪本说明书,再按说明书干活
如果你要做自己的小项目,推荐从这条路线开始:
- 先做 方案一
- 跑通 Skill 检索 + Prompt 注入 + Tool 调用
- 再升级到 方案二
- 最后再加:
- 向量检索
- Skill 权限控制
- Skill 优先级
- 动态 Agent 路由
7. 开源代码

DAMO开发者矩阵,由阿里巴巴达摩院和中国互联网协会联合发起,致力于探讨最前沿的技术趋势与应用成果,搭建高质量的交流与分享平台,推动技术创新与产业应用链接,围绕“人工智能与新型计算”构建开放共享的开发者生态。
更多推荐

 8
8 0
0- 0


 已为社区贡献3条内容

所有评论(0)