isaac lab安装与训练
摘要: 本文介绍了Isaac Sim和Isaac Lab的安装配置流程,包括Miniconda环境搭建、依赖安装及验证步骤。详细说明了如何使用Isaac Lab训练和测试机器人(如Ant和Anymal-C),并提供了云深处机器人(Lite3/M20)的仿真训练与部署教程。涵盖训练指令、TensorBoard监控、键盘控制及Mujoco环境配置注意事项。相关资源链接包括官方文档、GitHub仓库和B
参考链接:
IsaacLab安装教程
miniconda安装教程
DeepRoboticsLab
fan-ziqiGithub仓库
第一期 | 从头训练测试部署一个强化学习策略
第二期 | 训练代码解释,奖励函数设计,仿真环境配置
第三期 | 部署代码解释,程序结构,仿真测试
[具身智能开发第一期] [运控]ROS2结构介绍,以山猫M20盲走运控为例
[具身智能开发第二期] | [Lite3] [Perception] [Hardware Extension] lite3算力传感器扩展
文章目录
安装Miniconda
wget https://repo.anaconda.com/miniconda/Miniconda3-latest-Linux-x86_64.sh
bash Miniconda3-latest-Linux-x86_64.sh
# Verify your install
conda list
conda --version
安装isaac sim
# Preparing a Python Environment
conda create -n env_isaaclab python=3.11
conda activate env_isaaclab
pip install --upgrade pip

# Installing dependencies
pip install "isaacsim[all,extscache]==5.1.0" --extra-index-url https://pypi.nvidia.com
pip install -U torch==2.7.0 torchvision==0.22.0 --index-url https://download.pytorch.org/whl/cu128

# Verifying the Isaac Sim installation
isaacsim
# 或者
isaacsim isaacsim.exp.full.kit
安装isaac Lab
# Cloning Isaac Lab
mkdir isaaclab && cd isaaclab
git clone https://github.com/isaac-sim/IsaacLab.git
# for help
cd IsaacLab/
./isaaclab.sh --help

# install
sudo apt install cmake build-essential
./isaaclab.sh --install # or "./isaaclab.sh -i"
# 以上脚本默认安装所有learning frameworks. 包括rl_games, rsl_rl, sb3, skrl, robomimic.
# 如果只想安装特定框架,可制定参数,如
./isaaclab.sh --install rsl_rl  # or "./isaaclab.sh -i rsl_rl"

# Verifying the Isaac Lab installation
# Option 1: Using the isaaclab.sh executable
# note: this works for both the bundled python and the virtual environment
./isaaclab.sh -p scripts/tutorials/00_sim/create_empty.py
# Option 2: Using python in your virtual environment
python scripts/tutorials/00_sim/create_empty.py

# Train a robot!
# The quickest way to use Isaac Lab is through the predefined workflows using one of
# our Batteries-included robot tasks. Execute the following command to quickly train
# an ant to walk! We recommend adding --headless for faster training.
./isaaclab.sh -p scripts/reinforcement_learning/rsl_rl/train.py --task=Isaac-Ant-v0 --headless
# … Or a robot dog!
./isaaclab.sh -p scripts/reinforcement_learning/rsl_rl/train.py --task=Isaac-Velocity-Rough-Anymal-C-v0 --headless

# Play a robot!
# run script for playing with 32 environments
./isaaclab.sh -p scripts/reinforcement_learning/rl_games/play.py --task Isaac-Ant-v0 --num_envs 32 --checkpoint /PATH/TO/model.pth
# run script for playing a pre-trained checkpoint with 32 environments
./isaaclab.sh -p scripts/reinforcement_learning/rl_games/play.py --task Isaac-Ant-v0 --num_envs 32 --use_pretrained_checkpoint
# run script for recording video of a trained agent (requires installing `ffmpeg`)
./isaaclab.sh -p scripts/reinforcement_learning/rl_games/play.py --task Isaac-Ant-v0 --headless --video --video_length 200
使用云深处模型训练和play
安装DeepRoboticsLab代码
conda activate env_isaaclab
cd ~/isaaclab/
git clone --recurse-submodules https://github.com/DeepRoboticsLab/rl_training.git
cd rl_traning/
python -m pip install -e source/rl_training
# 验证安装,应该能看到4种环境
python scripts/tools/list_envs.py
开始训练train
conda activate env_isaaclab
# Deeprobotics Lite3:
python scripts/reinforcement_learning/rsl_rl/train.py --task=Rough-Deeprobotics-Lite3-v0 --headless
# Deeprobotics M20:
python scripts/reinforcement_learning/rsl_rl/train.py --task=Rough-Deeprobotics-M20-v0 --headless
查看训练过程和结果
可以使用tensorboard --logdir=logs指令查看训练过程和结果,在网页上可以看到各种曲线。
检查训练结果play
注意:
如果希望使用键盘进行控制,需要在以下指令的后面加上--keyboard
若希望在训练中检查训练结果,也可以使用check_point先play查看,在指令最后添加--checkpoint=path_to_model.pt
conda activate env_isaaclab
# Deeprobotics Lite3:
python scripts/reinforcement_learning/rsl_rl/play.py --task=Rough-Deeprobotics-Lite3-v0 --num_envs=10
# Deeprobotics M20:
python scripts/reinforcement_learning/rsl_rl/play.py --task=Rough-Deeprobotics-M20-v0 --num_envs=10
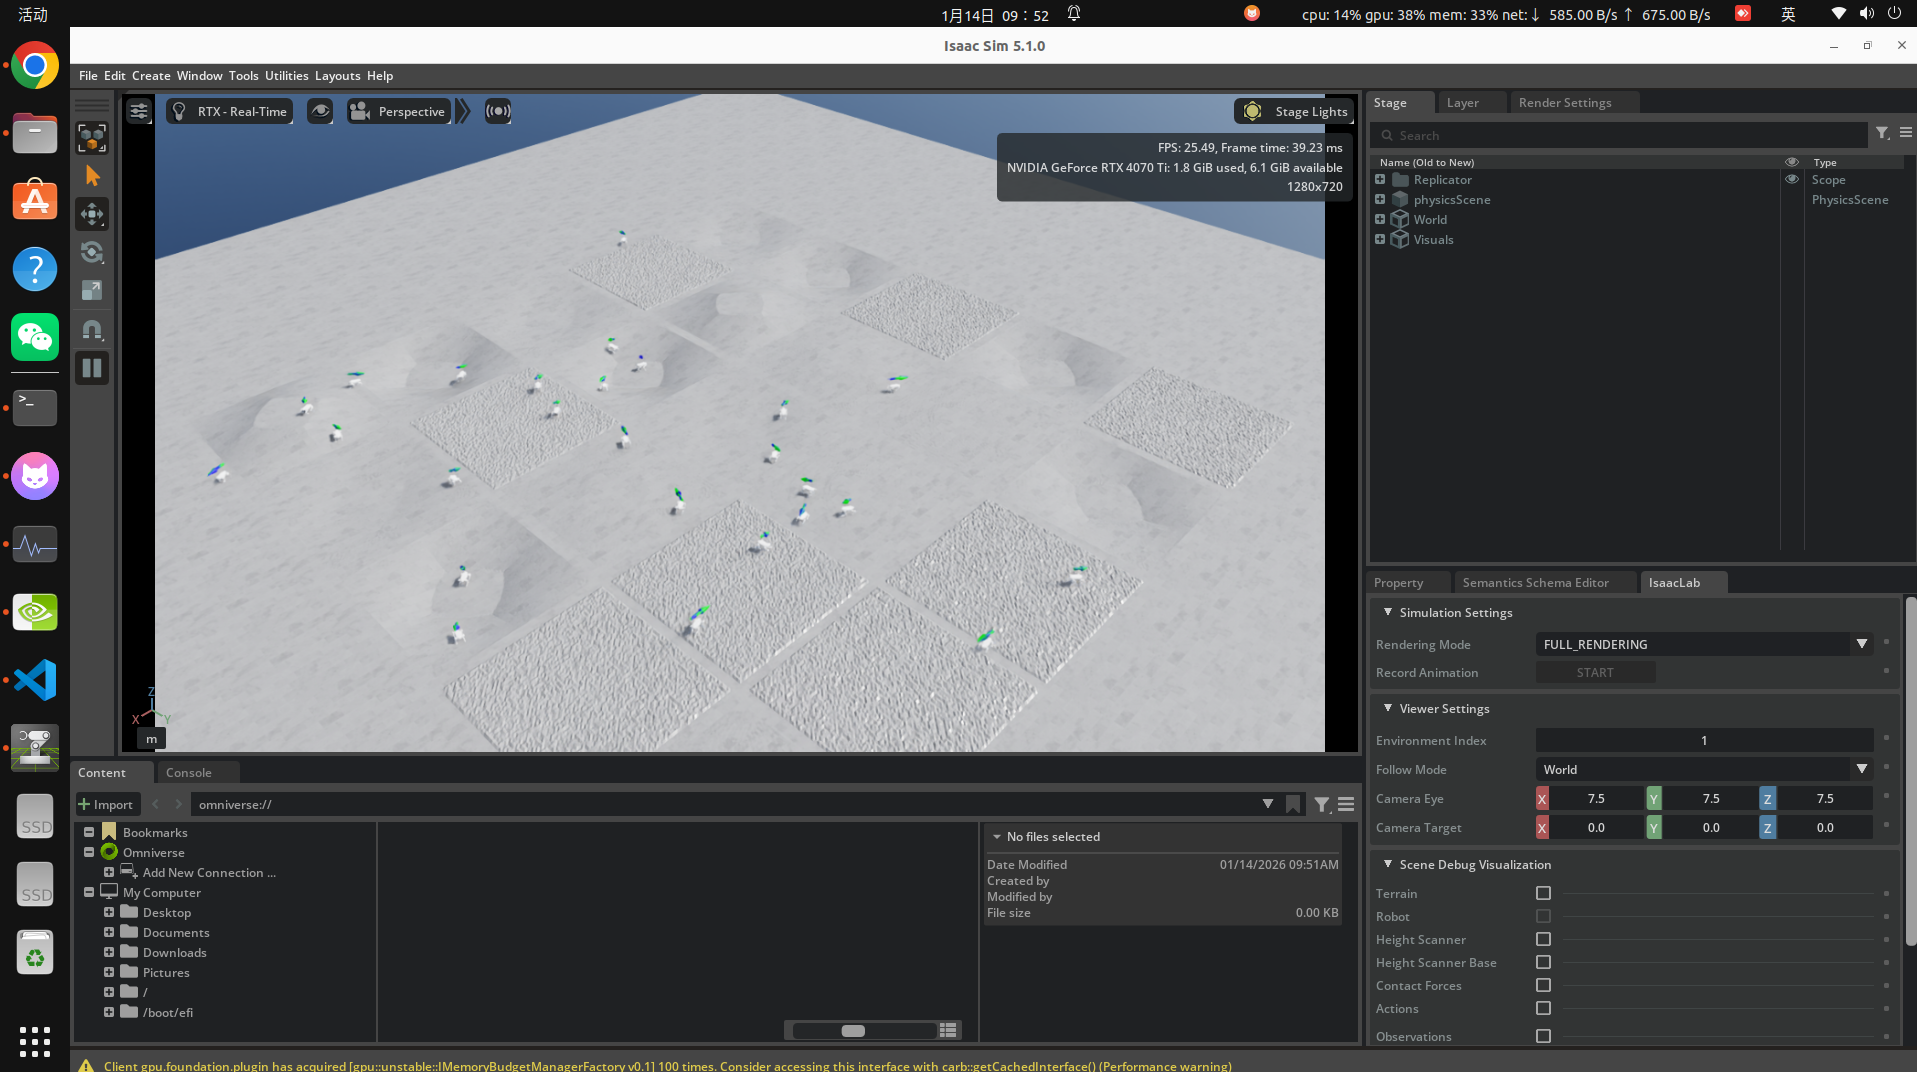
sim to sim仿真验证
Lite3_rl_deploy
注意:
我使用nvidia580的显卡驱动,无法顺利使用mujoco,将版本降低到535和570后可以使用。
配置
conda activate env_isaaclab
# segmentation debug 工具安装
sudo apt-get install libdw-dev
wget https://raw.githubusercontent.com/bombela/backward-cpp/master/backward.hpp
sudo mv backward.hpp /usr/include

# 依赖安装 (python3.10)
pip install pybullet "numpy < 2.0" mujoco
git clone --recurse-submodule https://github.com/DeepRoboticsLab/Lite3_rl_deploy.git

# 编译
cd Lite3_rl_deploy/
mkdir build && cd build
cmake .. -DBUILD_PLATFORM=x86 -DBUILD_SIM=ON -DSEND_REMOTE=OFF
# 指令解释
# -DBUILD_PLATFORM:电脑平台,Ubuntu为x86,机器狗运动主机为arm
# -DBUILD_SIM:是否使用仿真器,如果在实机上部署设为OFF
make -j
运行
将训练结果policy.onnx(参考路径rl_training/logs/rsl_rl/deeprobotics_lite3_rough/2026-01-12_16-08-42/exported)复制到Lite3_rl_deploy/policy/ppo路径下
# 运行 (打开两个终端)
# 终端1 (pybullet)
cd interface/robot/simulation
python3 pybullet_simulation.py

# 终端1 (mujoco)
cd interface/robot/simulation
python3 mujoco_simulation.py

# 终端2
cd build
./rl_deploy
操控(终端2)
tips: 可以将仿真器窗口设为始终位于最上层,方便可视化
- z: 机器狗站立进入默认状态
- c: 机器狗站立进入rl控制状态
- wasd:前后左右
- qe:顺逆时针旋转
-
pybullet_simulation
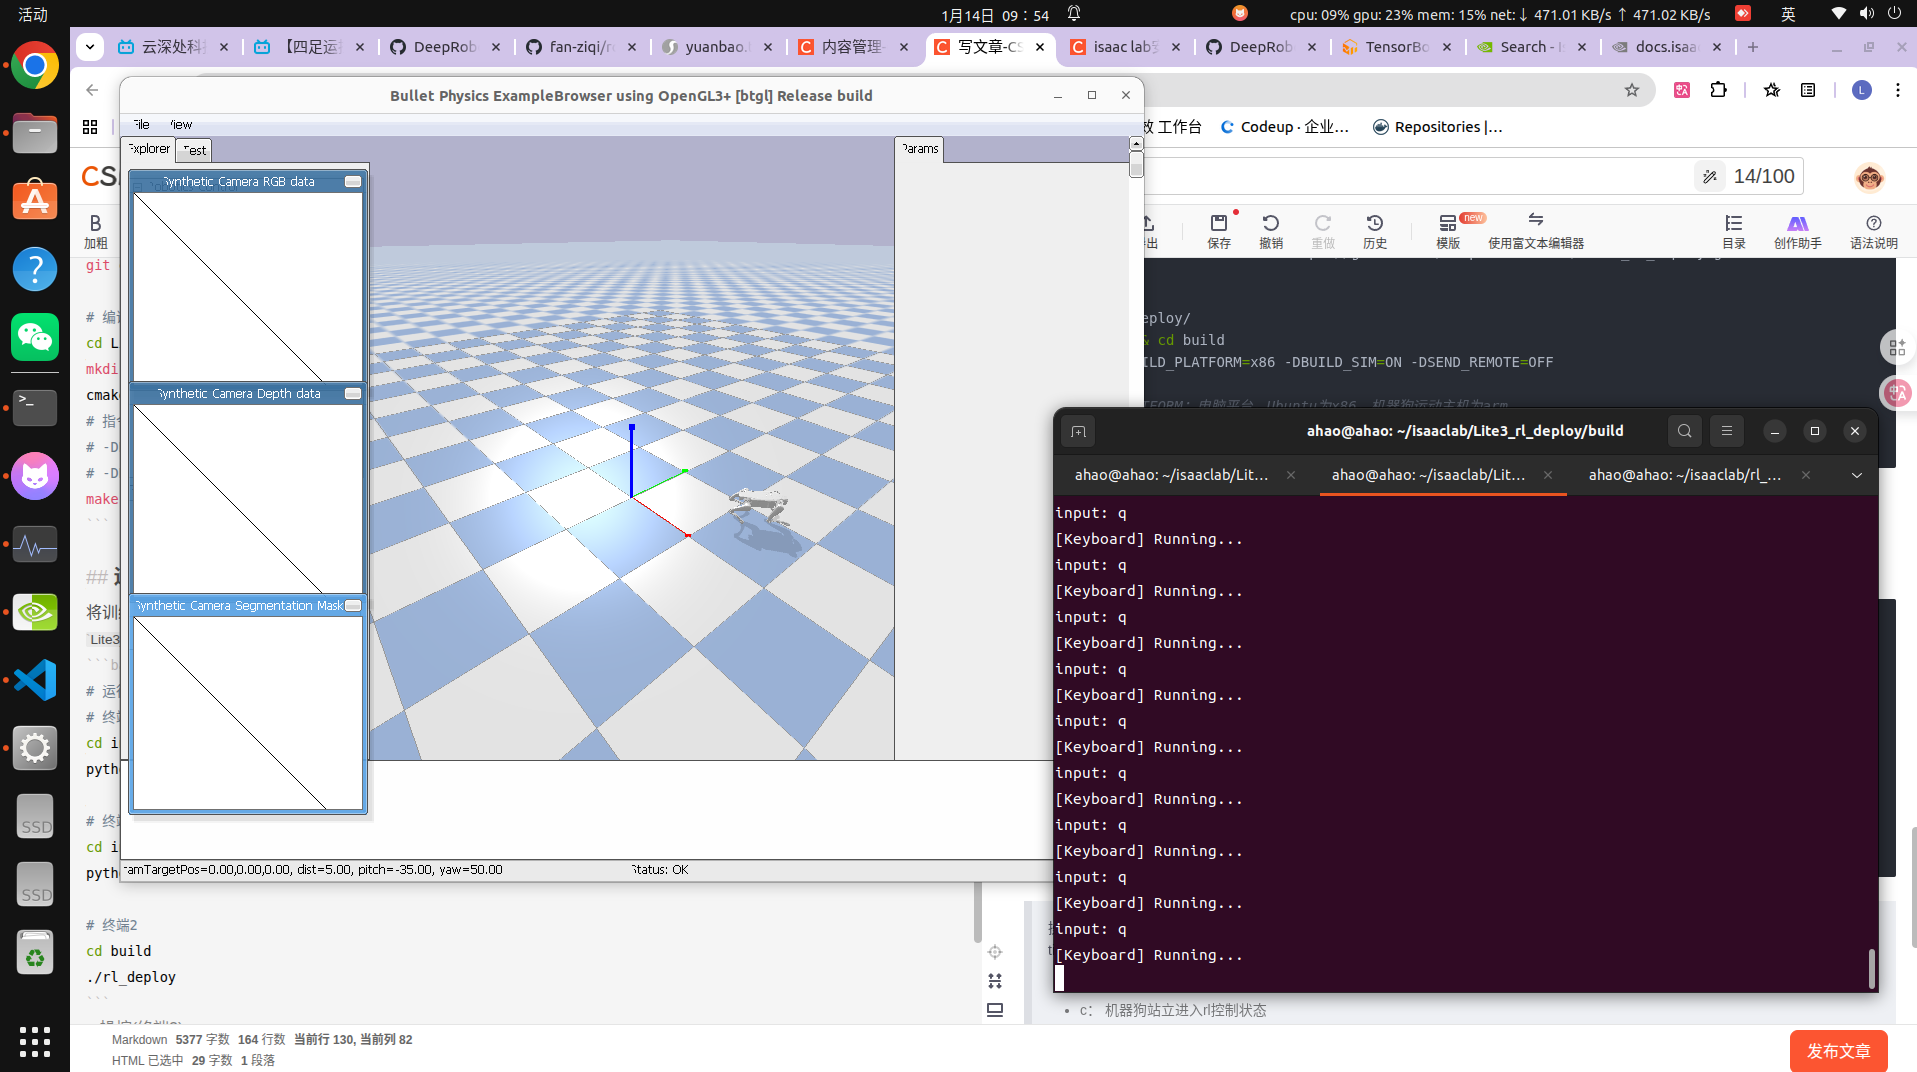
-
mujoco_simulation
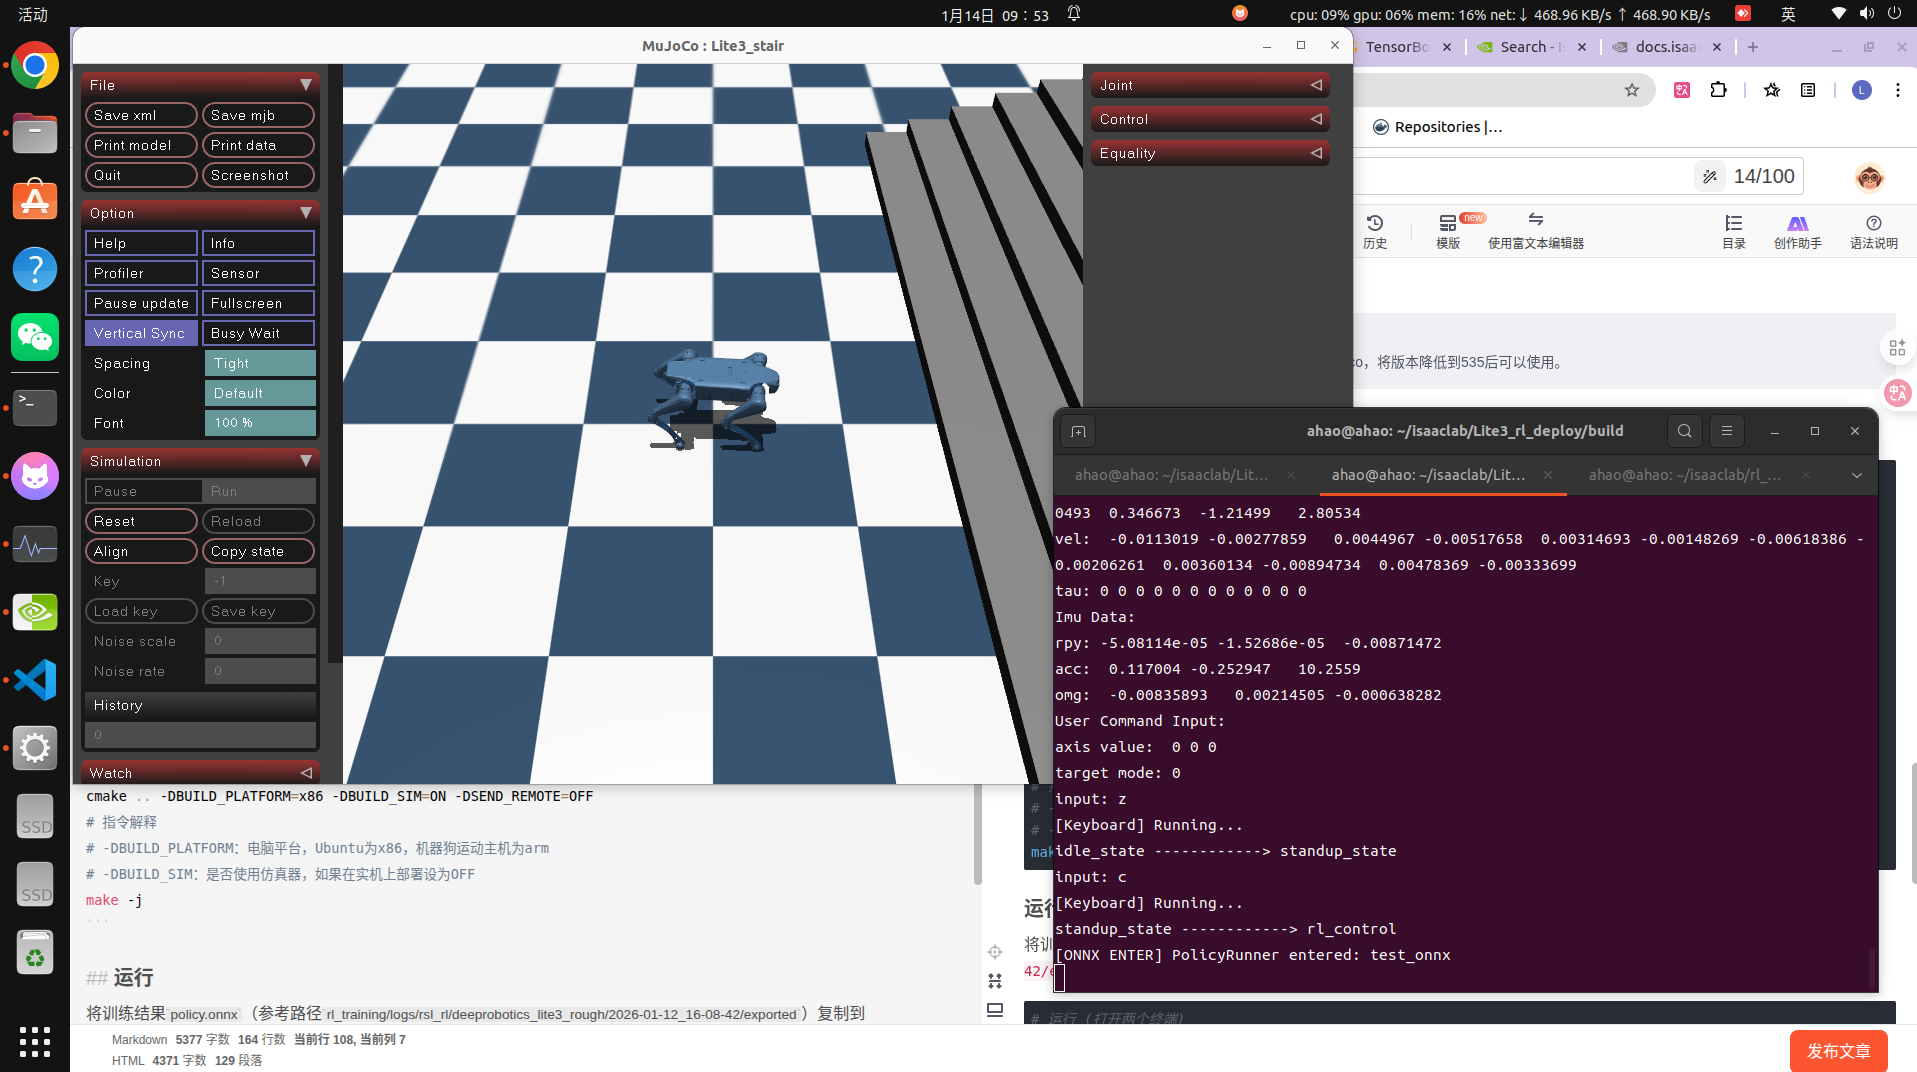
M20
pip install "numpy < 2.0" mujoco
git clone https://github.com/DeepRoboticsLab/sdk_deploy.git

# Compile
cd sdk_deploy
source /opt/ros/humble/setup.bash
colcon build --packages-up-to m20_sdk_deploy --cmake-args -DBUILD_PLATFORM=x86
注意:这里编译的时候可能会遇到不少报错,显示安装包确实,需要根据提示进行安装,python 版本降到3.10
运行
# Run (Open 2 terminals)
# Terminal 1
export ROS_DOMAIN_ID=1
source install/setup.bash
python3 src/M20_sdk_deploy/interface/robot/simulation/mujoco_simulation_ros2.py

# Terminal 2
export ROS_DOMAIN_ID=1
source install/setup.bash
ros2 run m20_sdk_deploy rl_deploy
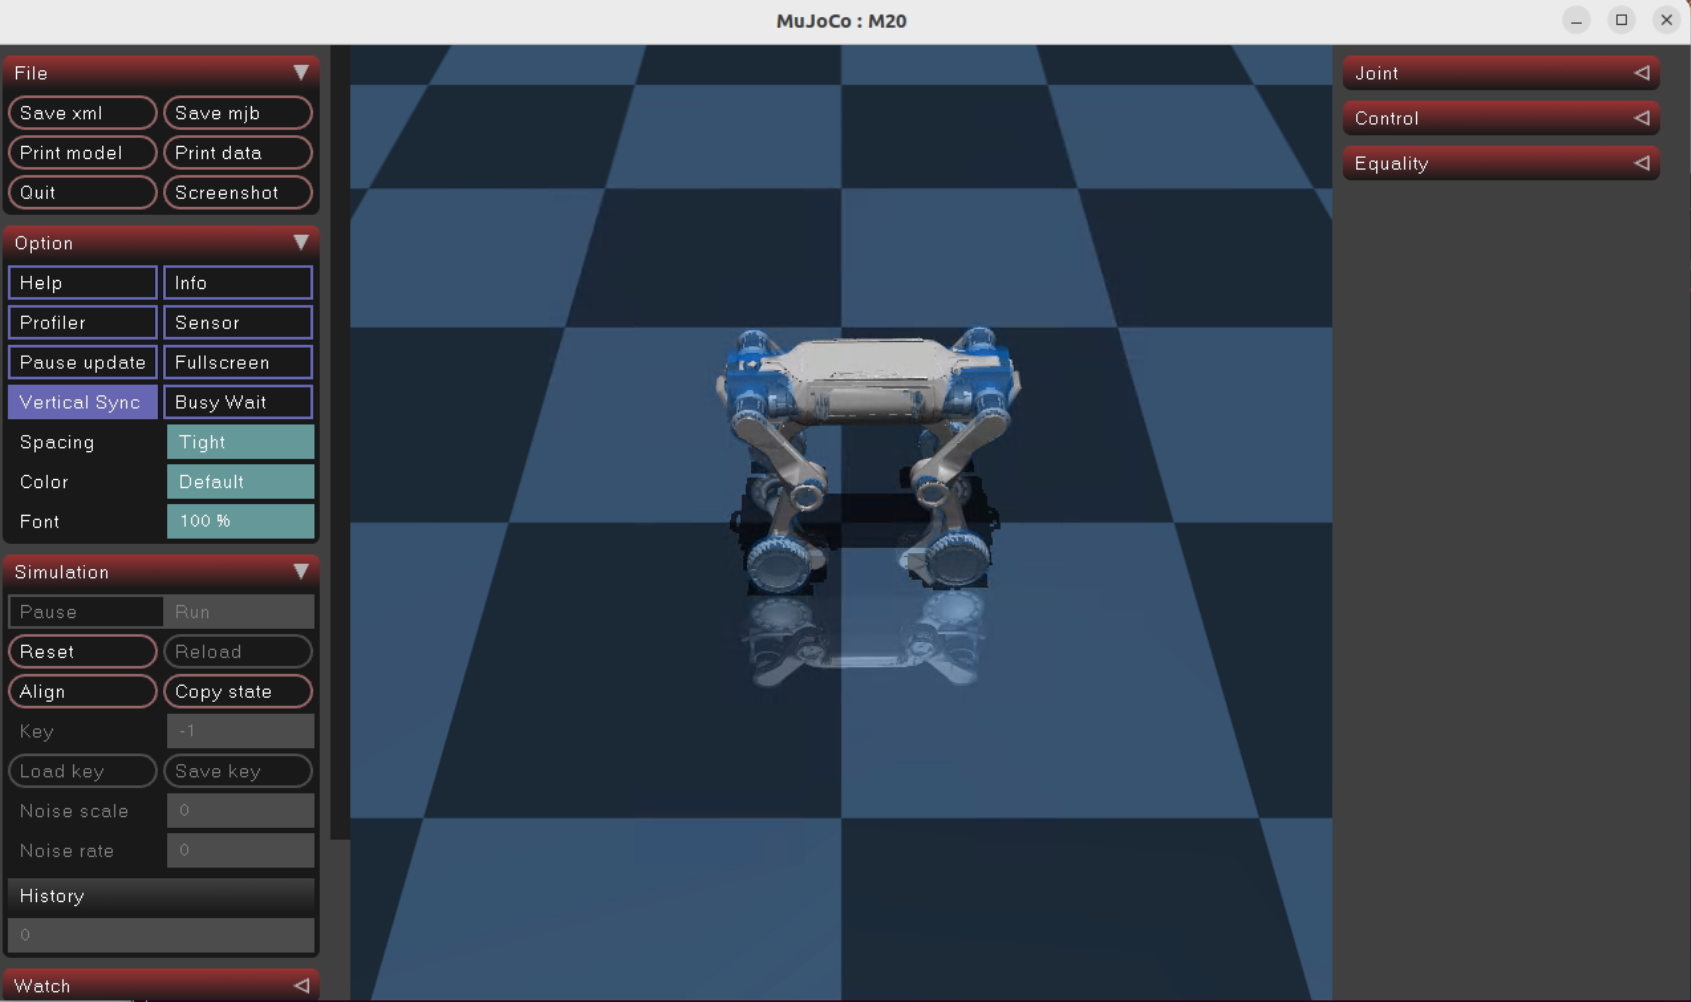
使用宇树科技模型训练和play
安装
下载 RL代码
conda activate env_isaaclab
git clone https://github.com/unitreerobotics/unitree_rl_lab.git
./unitree_rl_lab.sh -i
下载宇树模型文件
# 方式1:使用USD模型文件
git clone https://huggingface.co/datasets/unitreerobotics/unitree_model
# 在source/unitree_rl_lab/unitree_rl_lab/assets/robots/unitree.py文件中修改UNITREE_MODEL_DIR
UNITREE_MODEL_DIR = "</home/user/projects/unitree_usd>"
# 方式2:使用URDF Files [Recommended] Only for Isaacsim >= 5.0
git clone https://github.com/unitreerobotics/unitree_ros.git
# 在source/unitree_rl_lab/unitree_rl_lab/assets/robots/unitree.py文件中修改UNITREE_ROS_DIR
UNITREE_ROS_DIR = "</home/user/projects/unitree_ros/unitree_ros>"
验证环境是否安装完成
# 查看可进行的任务
./unitree_rl_lab.sh -l # This is a faster version than isaaclab

# 开始train任务
./unitree_rl_lab.sh -t --task Unitree-G1-29dof-Velocity # support for autocomplete task-name
# same as
python scripts/rsl_rl/train.py --headless --task Unitree-G1-29dof-Velocity

# 开始play任务
./unitree_rl_lab.sh -p --task Unitree-G1-29dof-Velocity # support for autocomplete task-name
# same as
python scripts/rsl_rl/play.py --task Unitree-G1-29dof-Velocity
Deploy
设置
# Install dependencies
sudo apt install -y libyaml-cpp-dev libboost-all-dev libeigen3-dev libspdlog-dev libfmt-dev
# Install unitree_sdk2
git clone git@github.com:unitreerobotics/unitree_sdk2.git
cd unitree_sdk2
mkdir build && cd build
cmake .. -DBUILD_EXAMPLES=OFF # Install on the /usr/local directory
sudo make install
# Compile the robot_controller
cd unitree_rl_lab/deploy/robots/g1_29dof # or other robots
mkdir build && cd build
cmake .. && make
sim2sim
- Set the
robotat/simulate/config.yamlto g1 - Set
domain_idto 0 - Set
enable_elastic_handto 1 - Set
use_joystckto 1.
# start simulation
cd unitree_mujoco/simulate/build
./unitree_mujoco
# ./unitree_mujoco -i 0 -n eth0 -r g1 -s scene_29dof.xml # alternative
cd unitree_rl_lab/deploy/robots/g1_29dof/build
./g1_ctrl
# 1. press [L2 + Up] to set the robot to stand up
# 2. Click the mujoco window, and then press 8 to make the robot feet touch the ground.
# 3. Press [R1 + X] to run the policy.
# 4. Click the mujoco window, and then press 9 to disable the elastic band.
可能是因为我没有手柄,因此在打开unitree_mujoco的时候就会报错
sim2real
./g1_ctrl --network eth0 # eth0 is the network interface name.

DAMO开发者矩阵,由阿里巴巴达摩院和中国互联网协会联合发起,致力于探讨最前沿的技术趋势与应用成果,搭建高质量的交流与分享平台,推动技术创新与产业应用链接,围绕“人工智能与新型计算”构建开放共享的开发者生态。
更多推荐

 3
3 0
0- 0


 已为社区贡献1条内容

所有评论(0)